Put the Lime in the Coconut
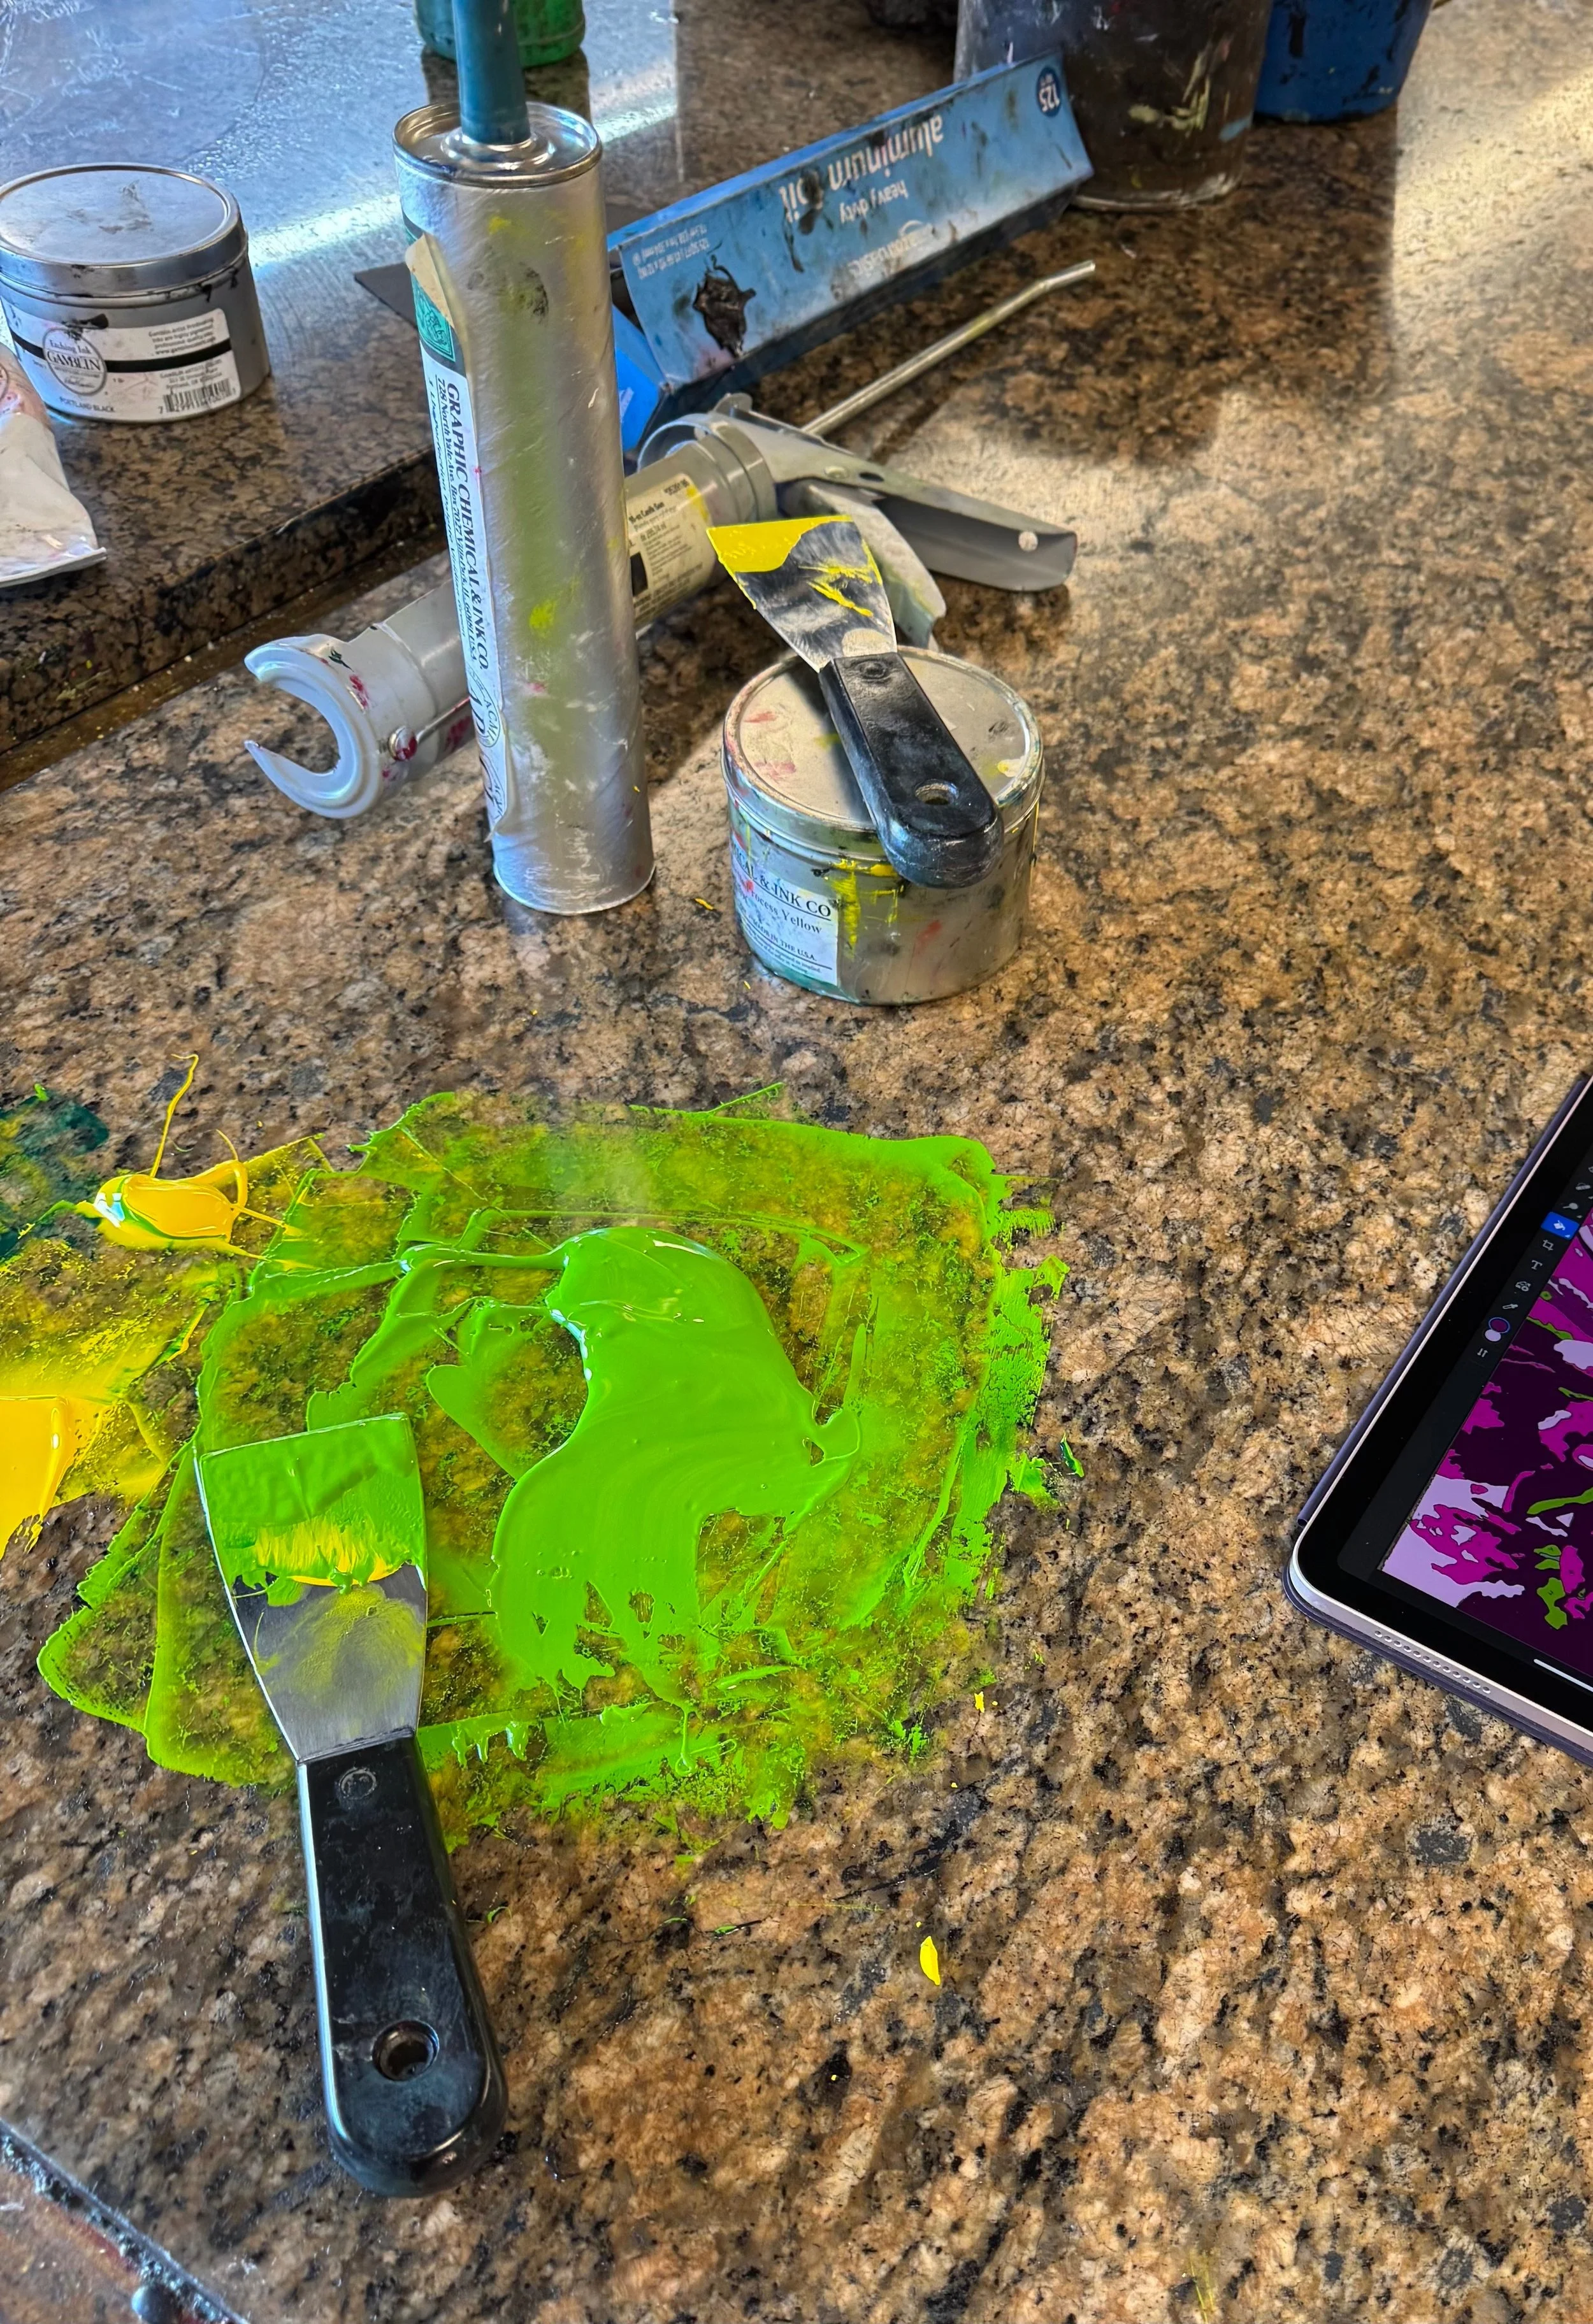
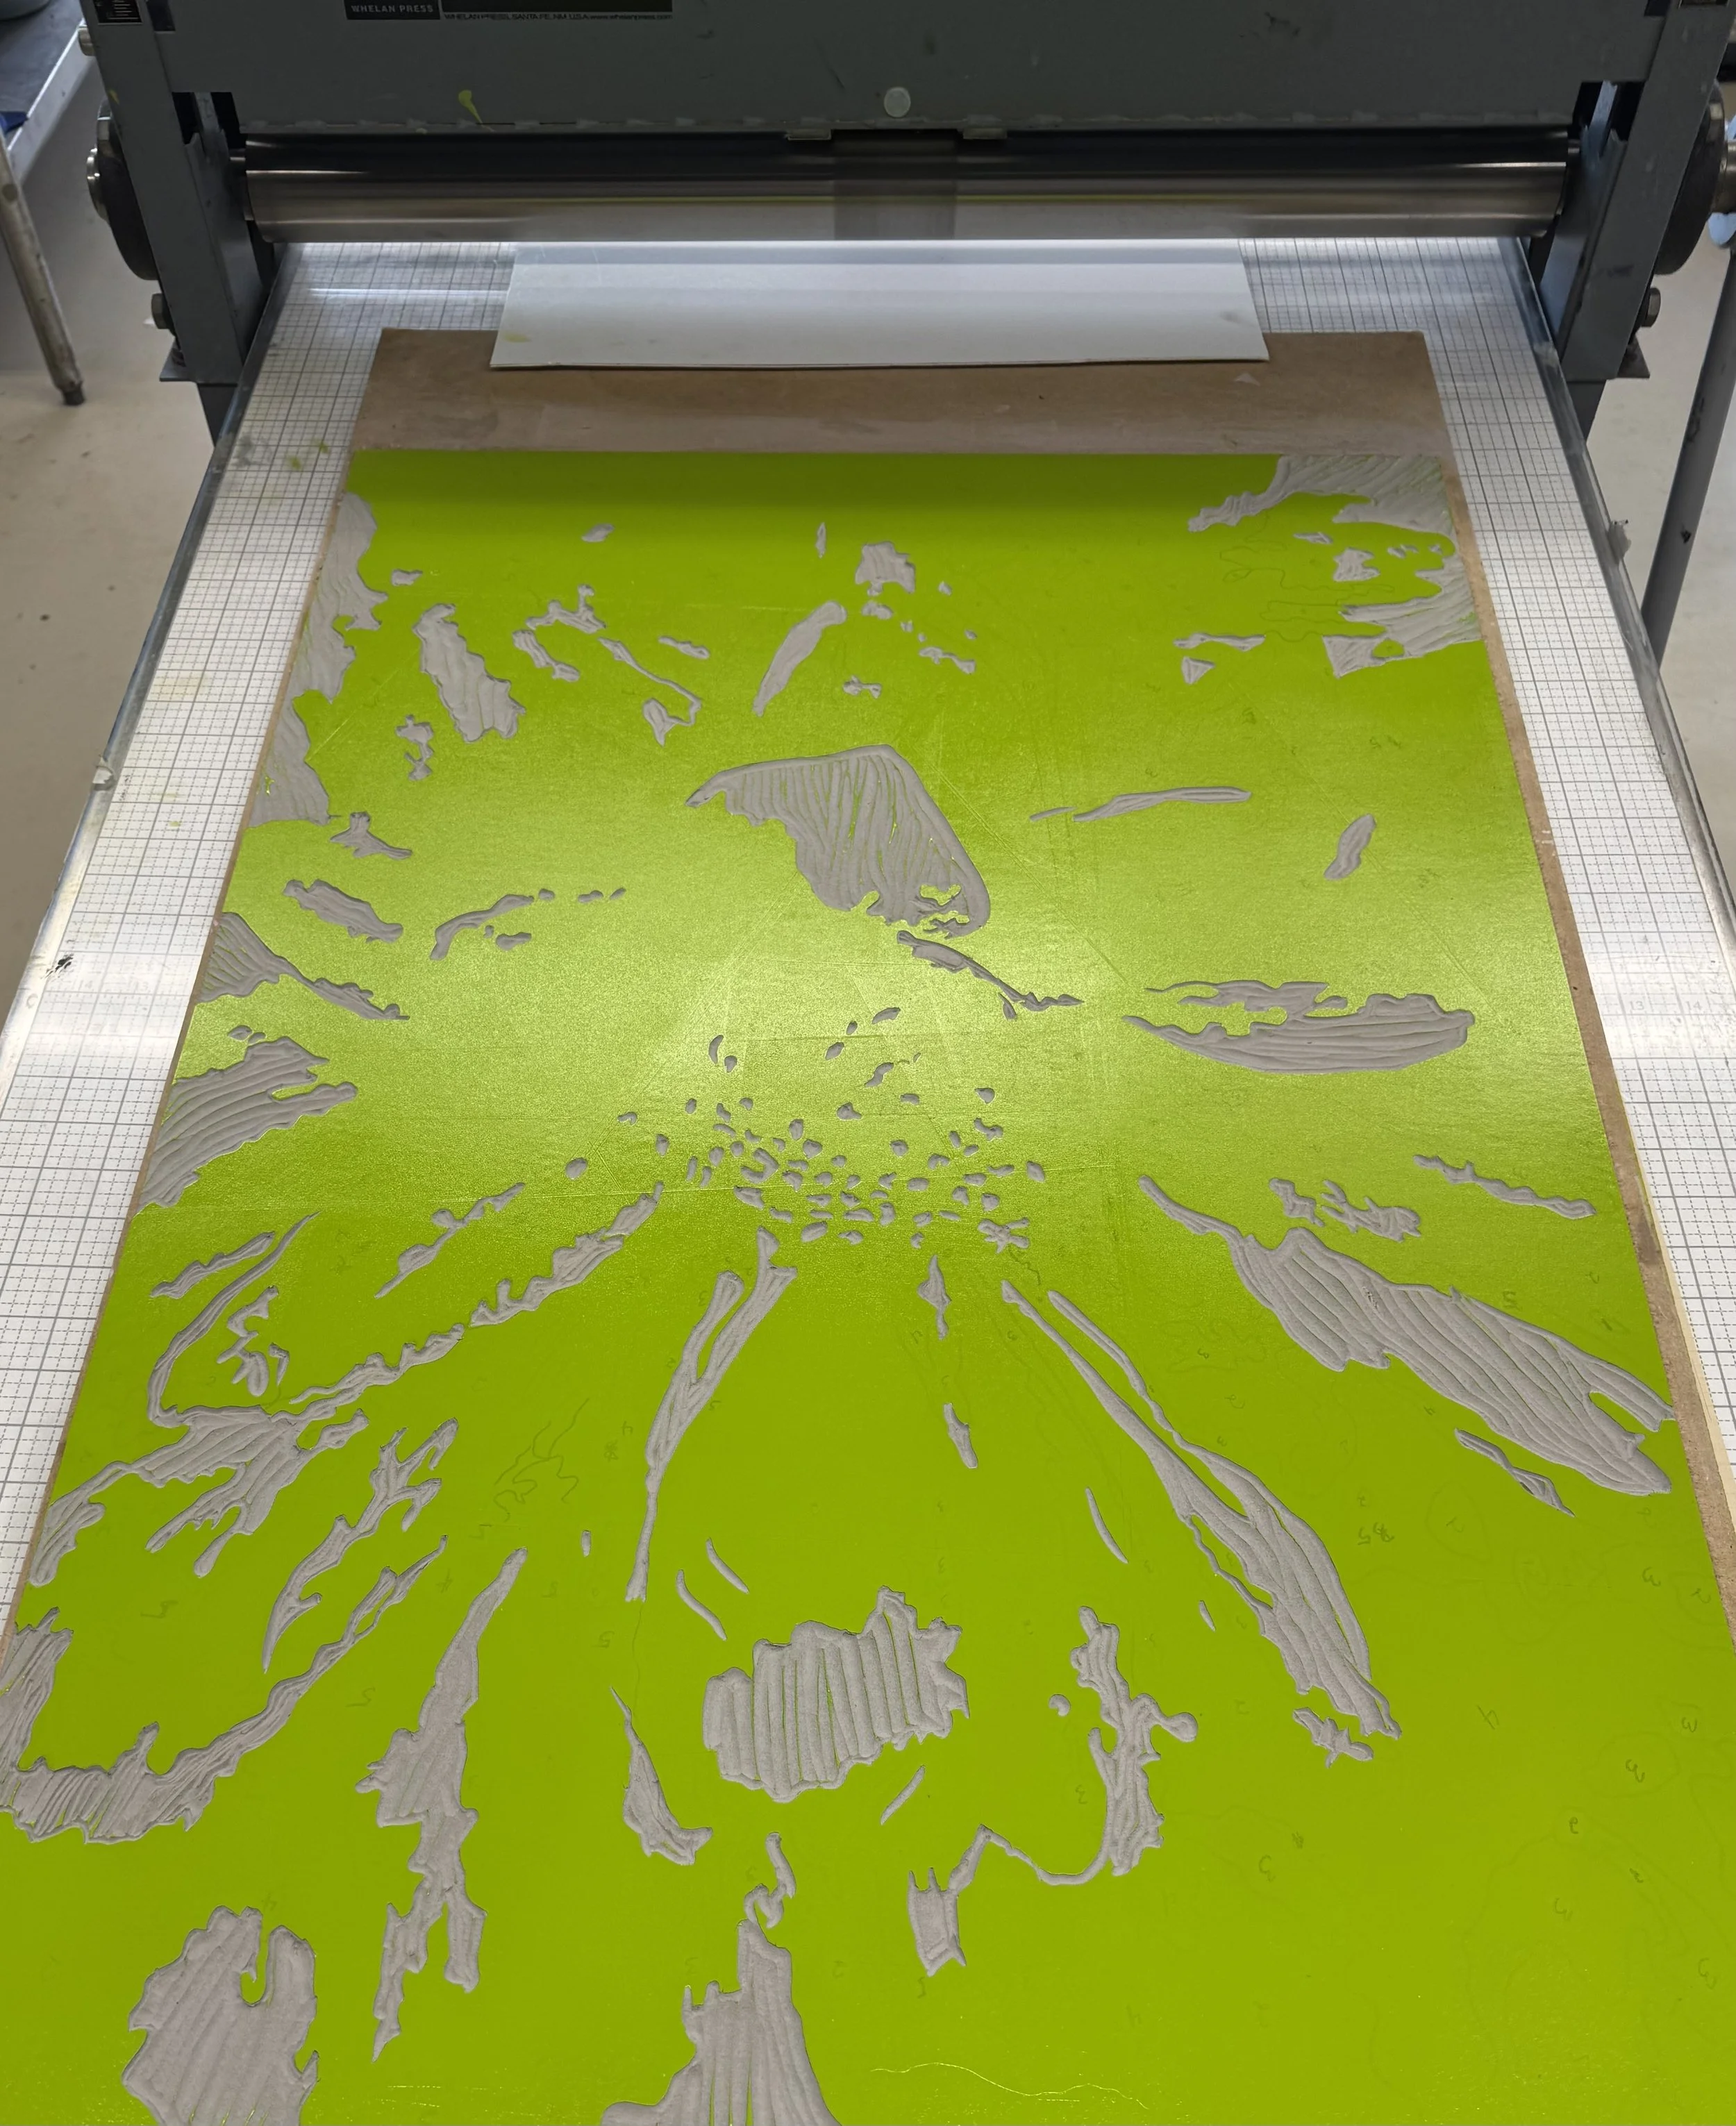
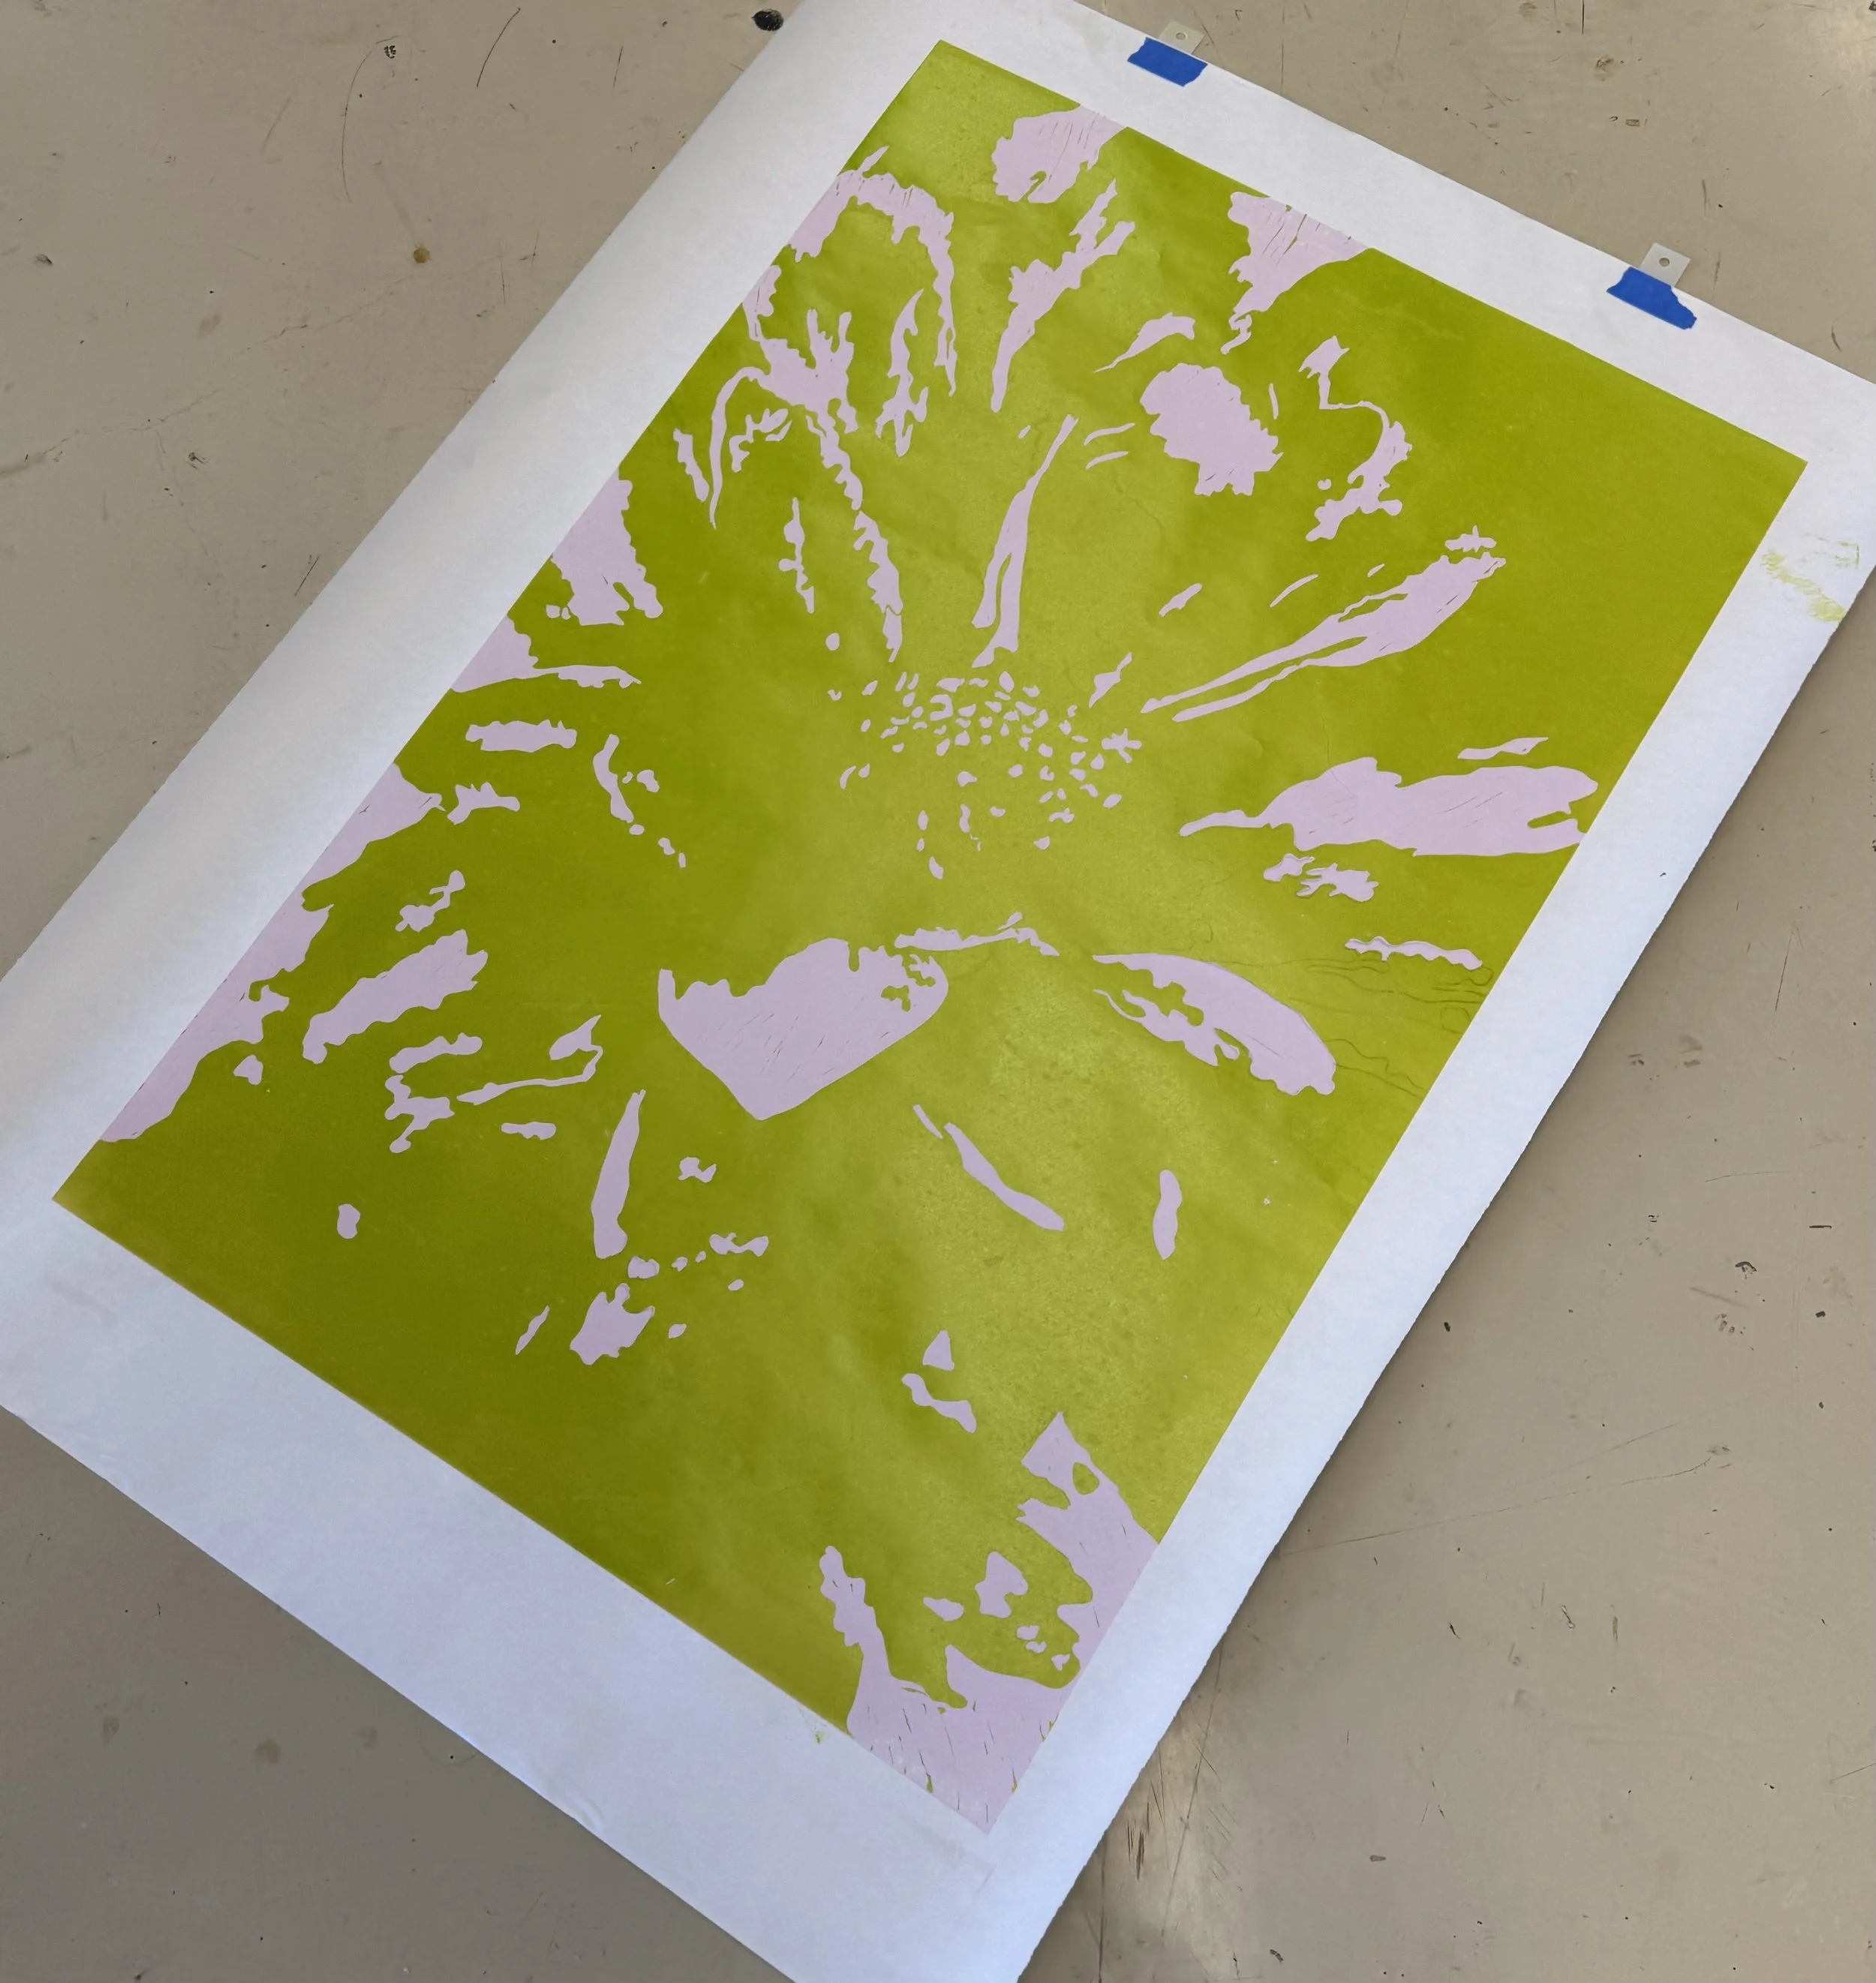
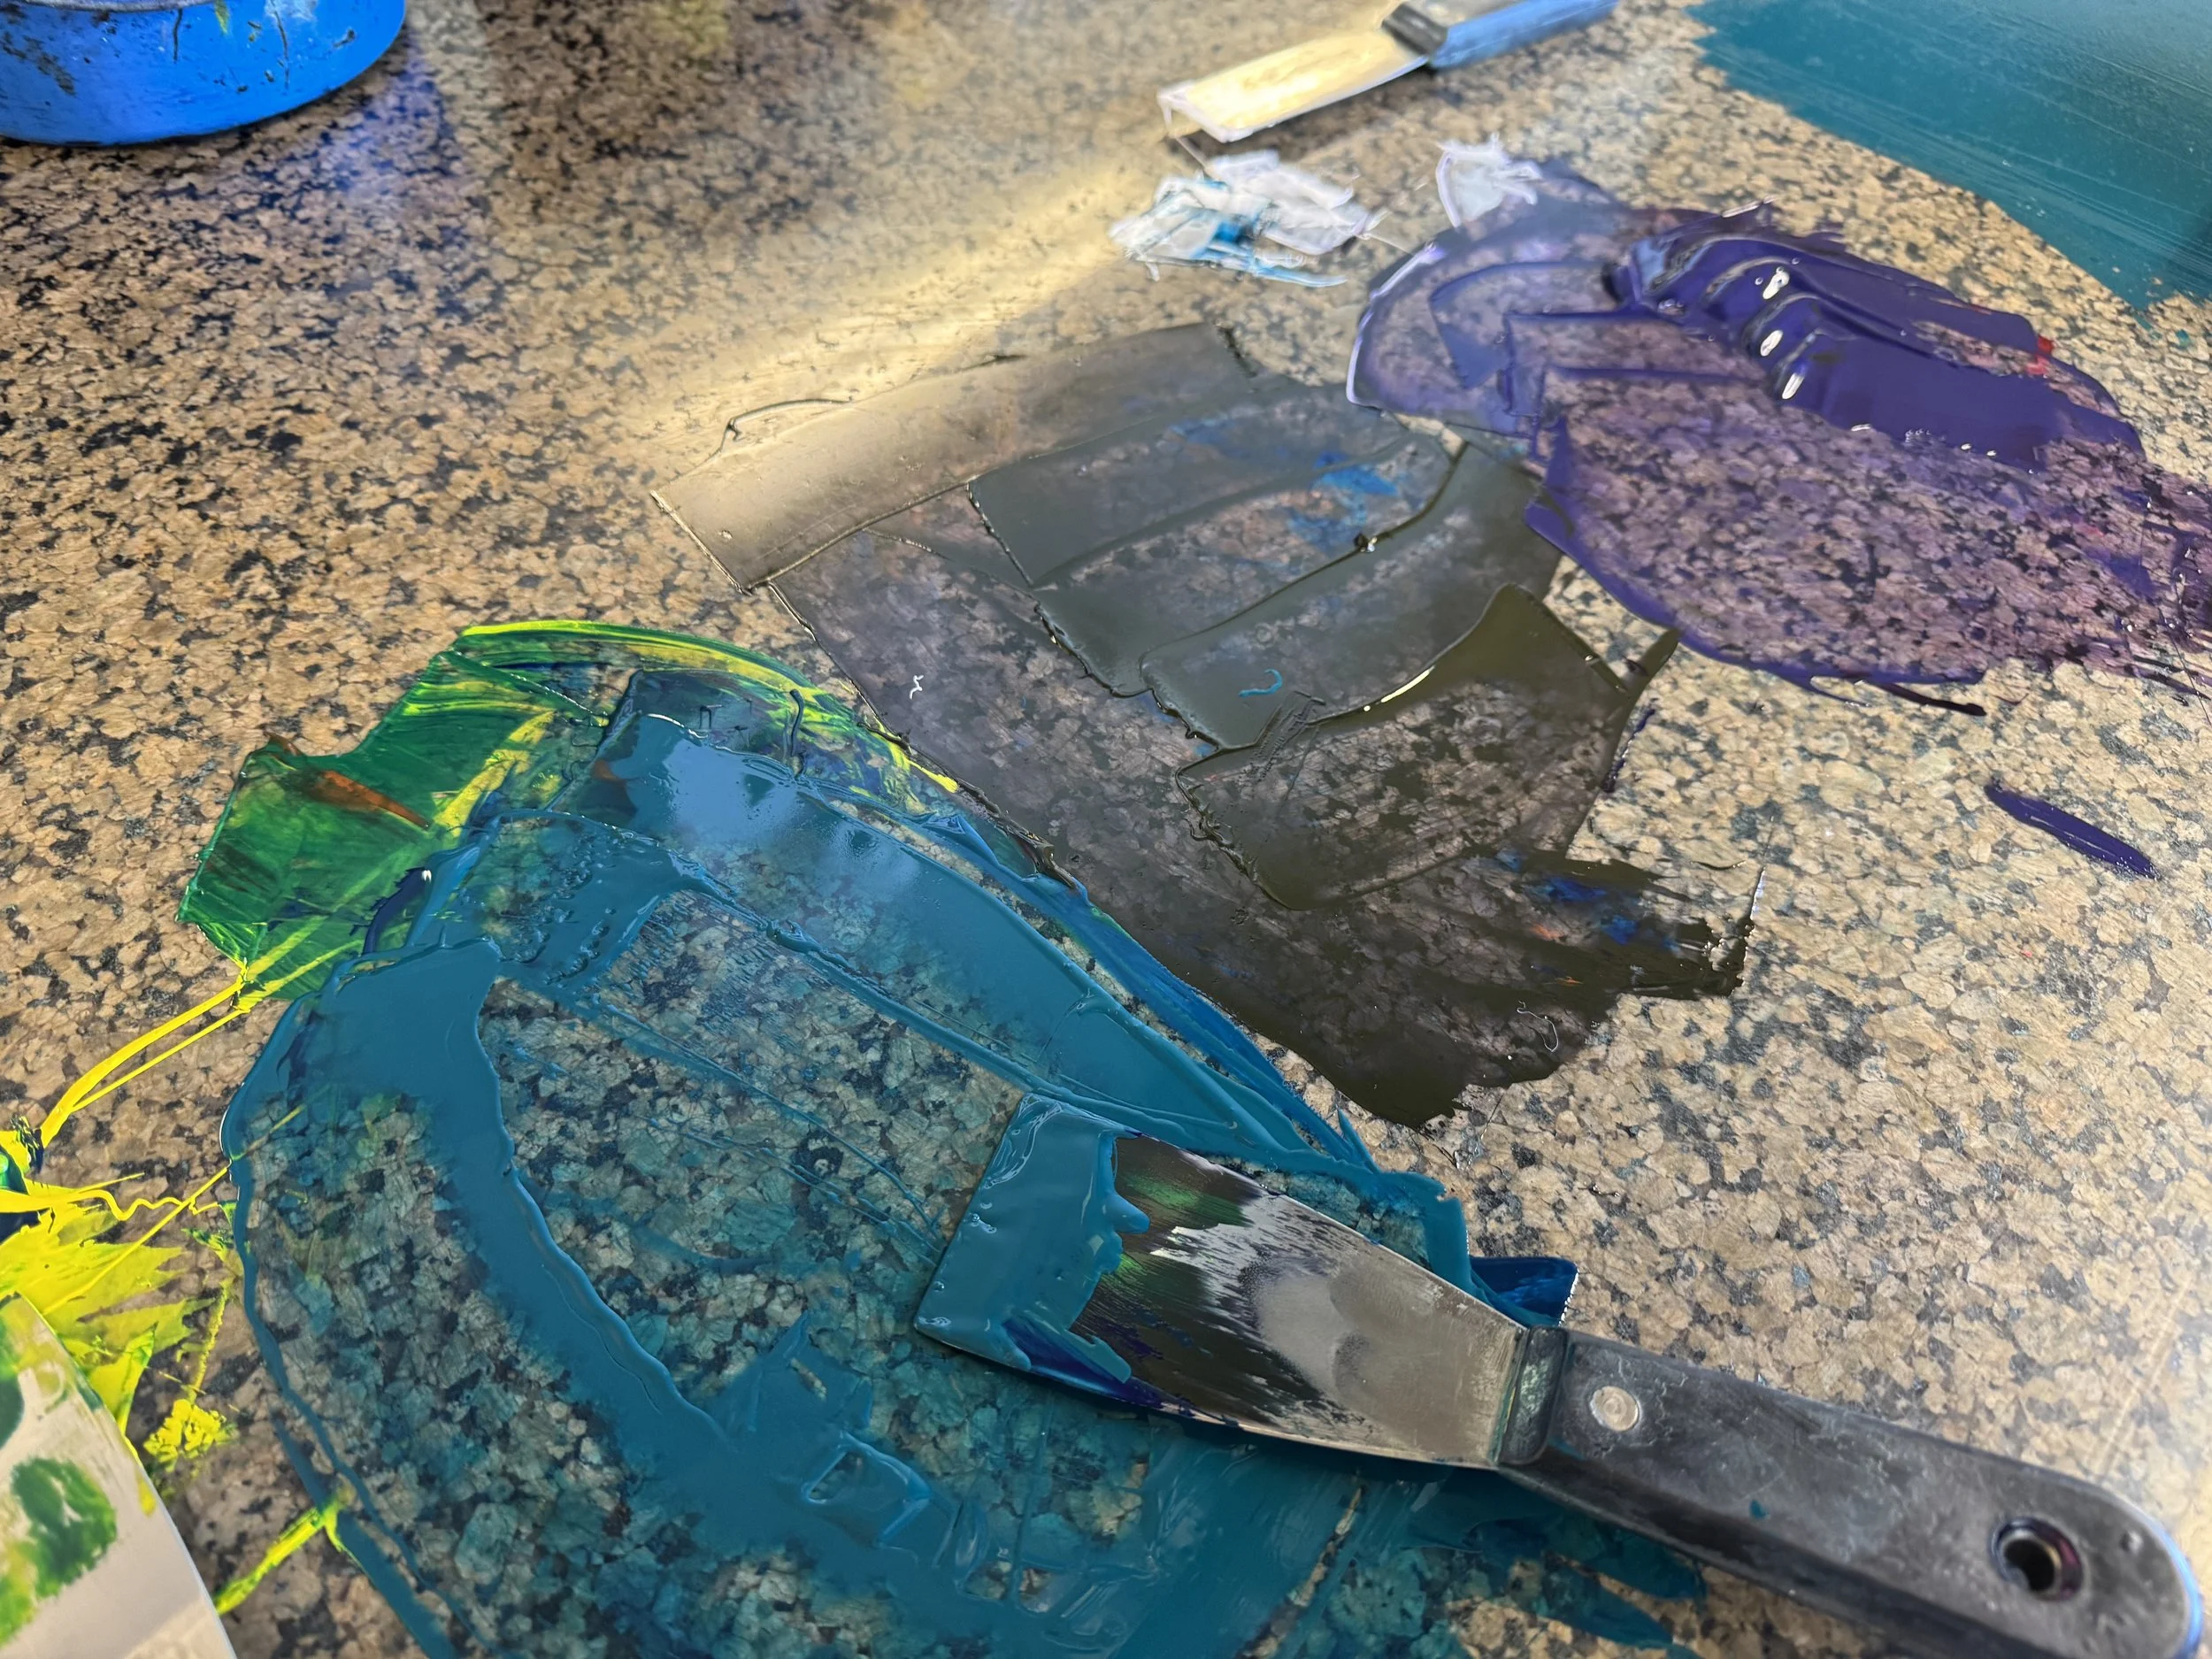
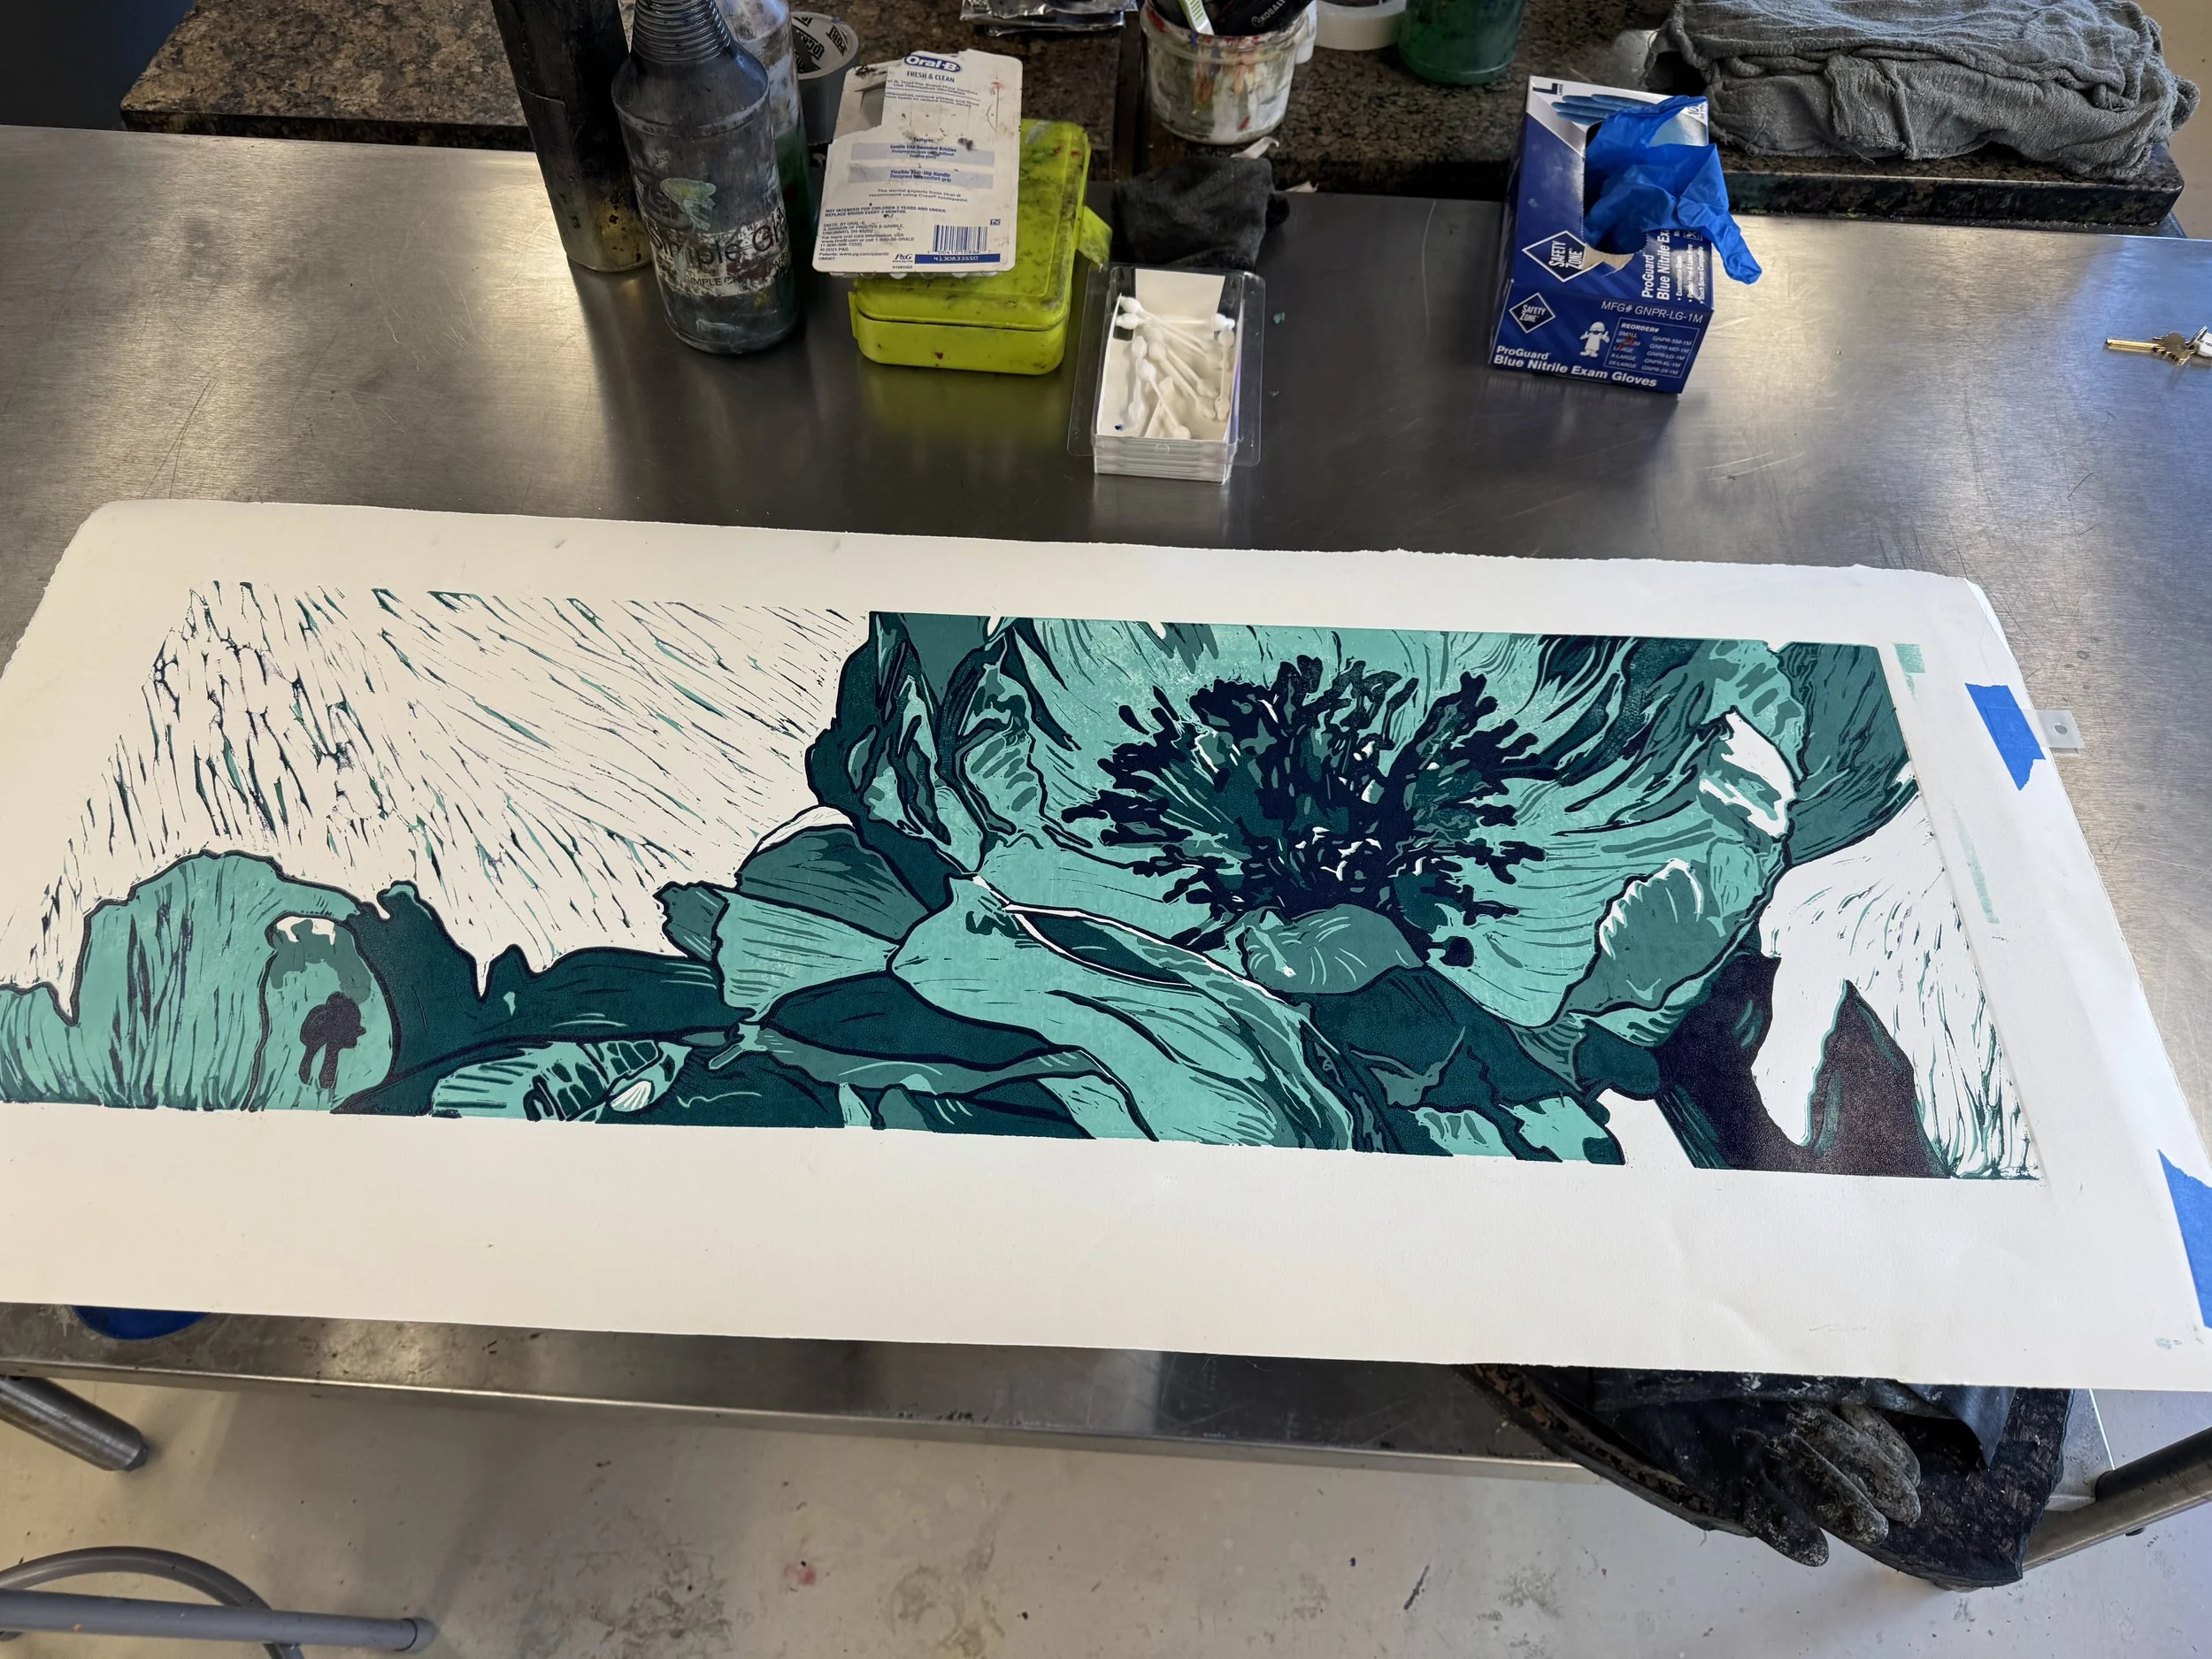
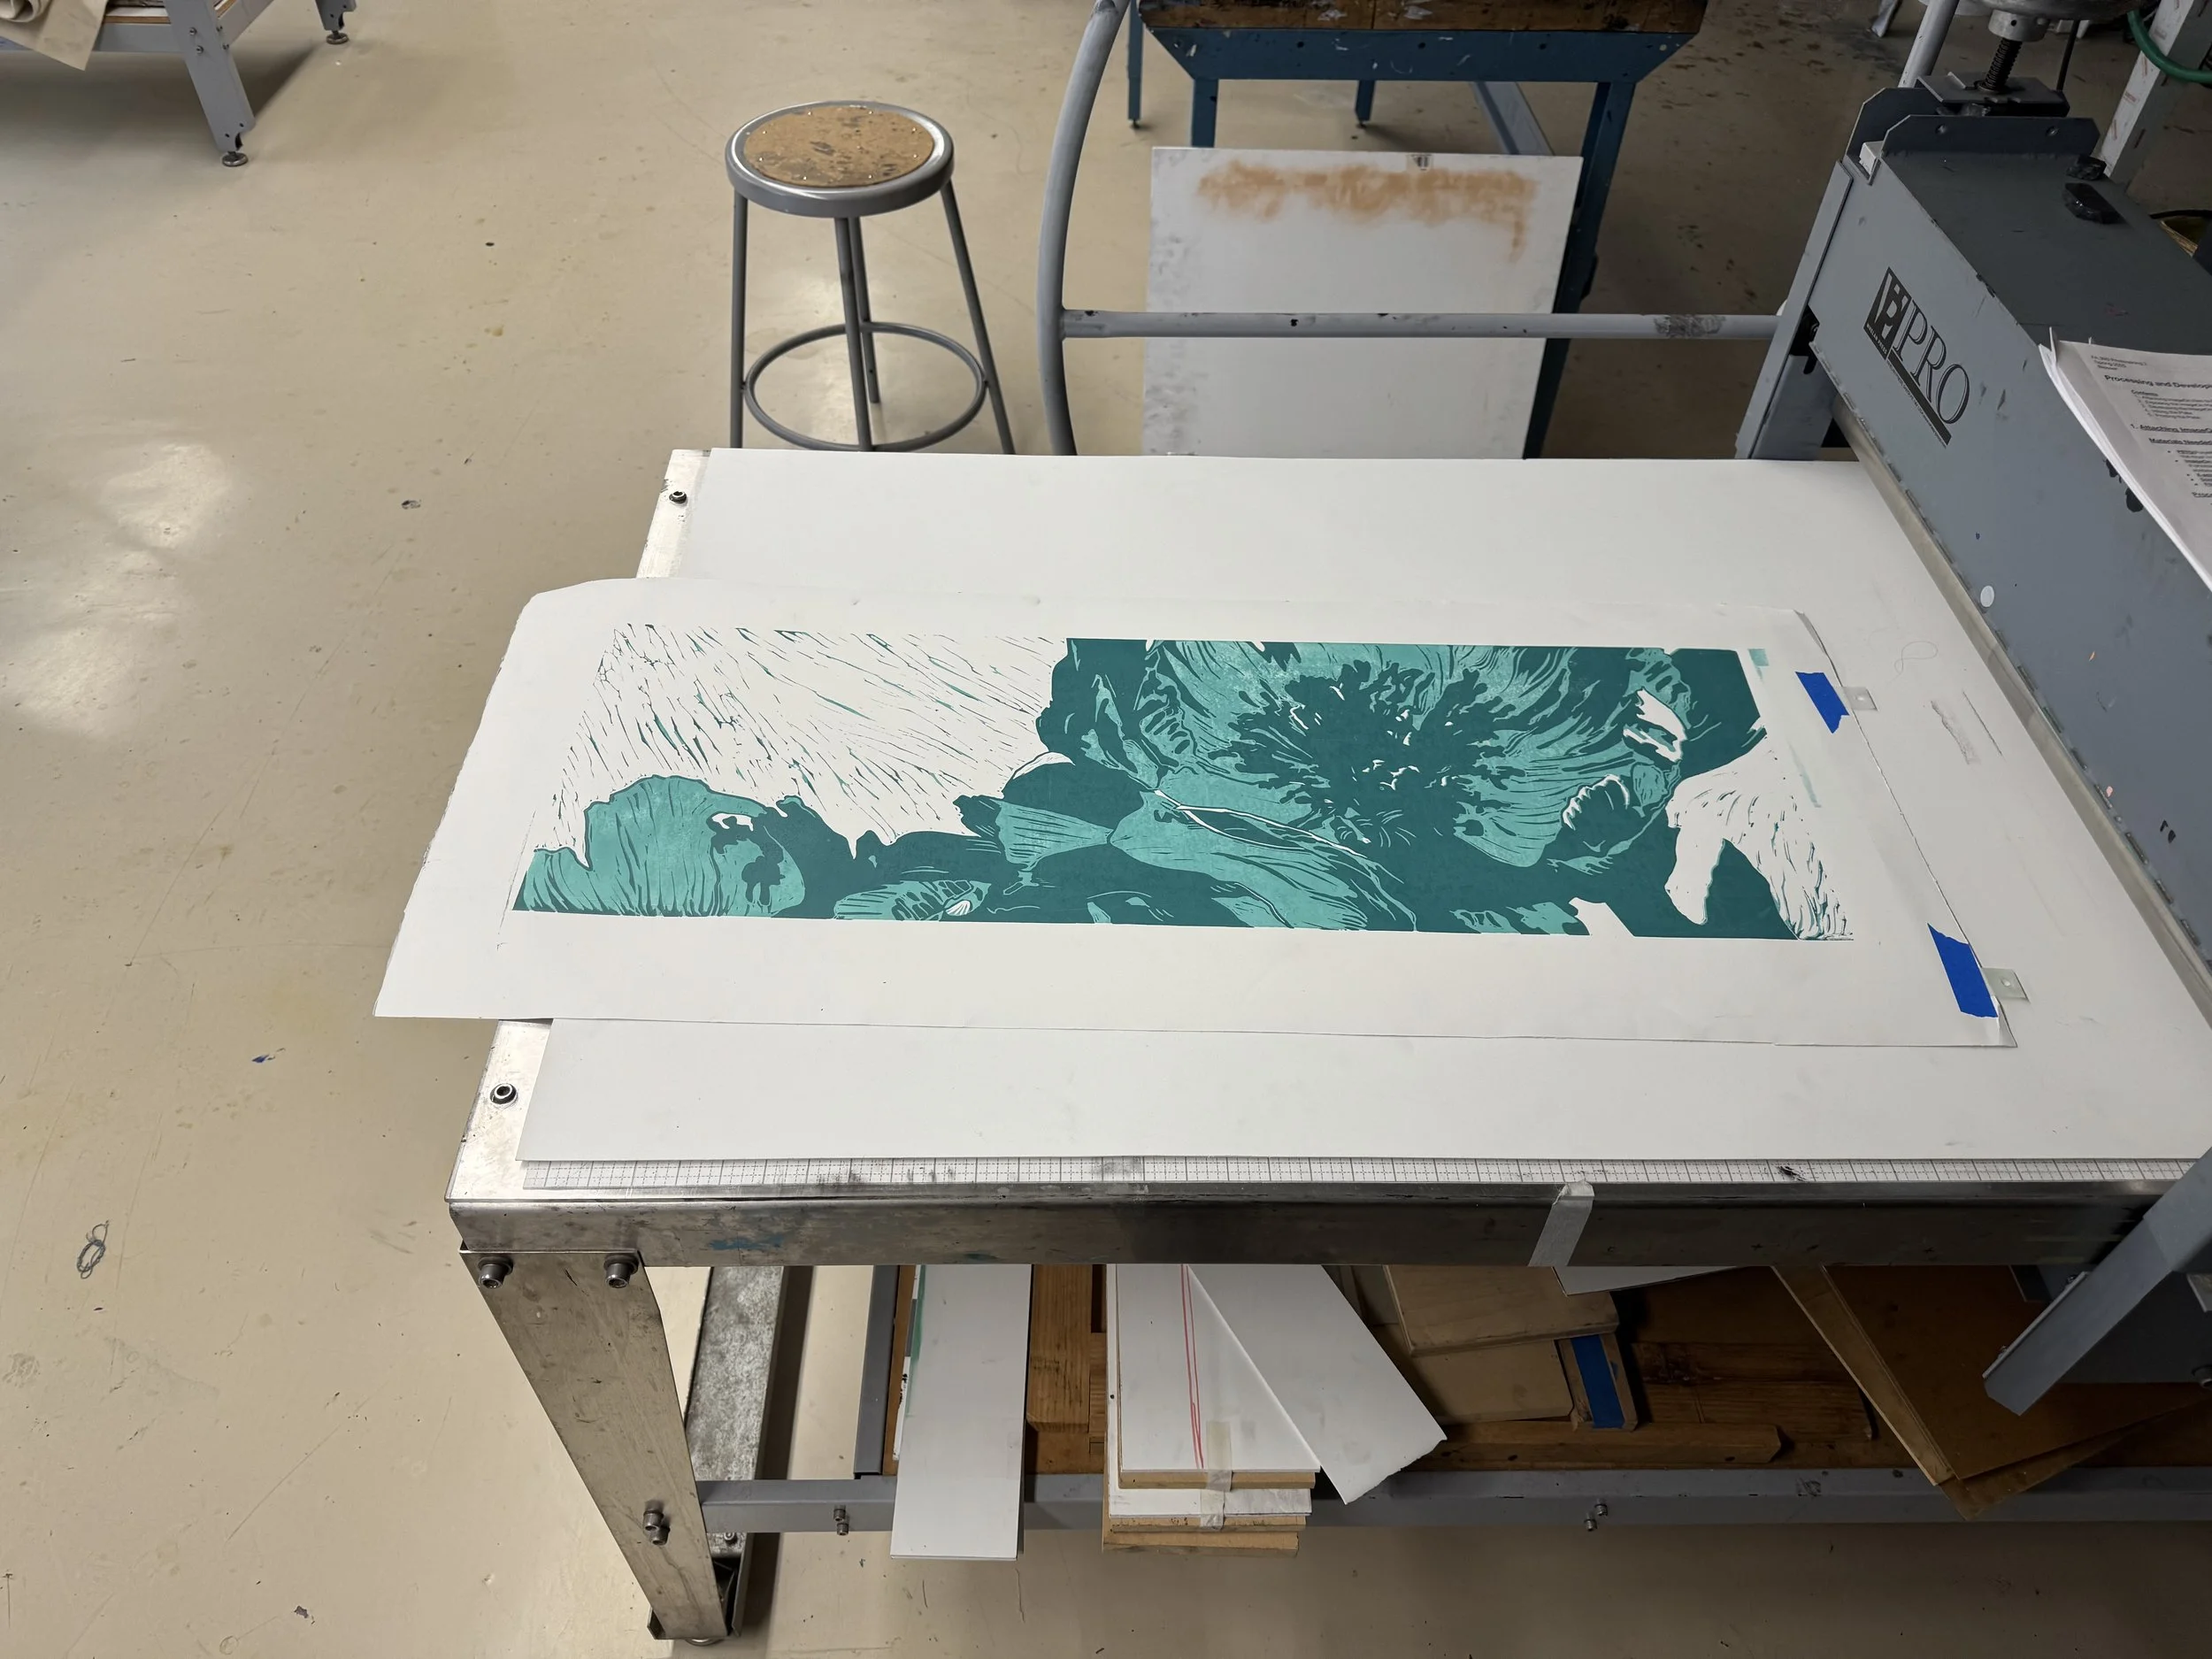
Today, 3/7/2025, I spent the entire day in the print room inking the lime green layer of 10 prints. I had issues at first, but it turned out to be operator error; I didn’t apply enough ink. After that, I managed to get almost all 10 prints inked and pressed successfully. Overall, it was a good day. I’m excited to carve away the green. On to the next!
Making Jellies 🪼
I made homemade Gelli plates, and they have held up all year. What you will need is
Materials
Large mixing bowl
rubber spatula
measuring cup
Any shape approx 9x13 tray or dish that you want to use as long as you end up with at least 1-inch thickness of gelatin
level surface
newspaper strips or paper towels to remove surface bubbles
Recipe
375 ml Glycerin (I used a 16 oz bottle from LorAnn from Michaels)
1/2 cup cold water
115 gm powdered gelatin (I used Knox brand -4 1oz boxes)
1 and 1/2 cups boiling water
Directions
Be prepared before you start because mixing the gelatin reacts quickly. Make sure your tray is ready on a level surface. Have your paper strips beside it prepared for the mixture.
Place 1/2 cold water into the bowl
Pour half of the glycerin liquid into the water
Using the spatula, stir and mix thoroughly, BUT MIX SLOWLY. This step is crucial because you DO NOT want to add bubbles.
Once mixed well, sprinkle all the gelatin powder into the mixture
Using the spatula, mix and squish the mixture to remove all lumps and clumps of gelatin. MAINTAINING A SLOW MIXING MOTION to reduce the addition of bubbles.
Once all lumps are mixed, add the rapidly boiling water and continue to stir SLOWLY until gelatin is dissolved.
Once dissolved, add the remaining glycerin.
SLOWLY stir until blended. DON’T ADD EXTRA BUBBLES
Pour mixture into the mold SLOWLY
You will see bubbles on the surface
You can use the newspaper strips to skim the bubbles off the surface of the mixture. Slowly drag a strip of newspaper across the surface of the gelatin mixture.
Leave the tray mold set (DO NOT MOVE) until the mixture has set. Within 1-2 hours.
Once set, you will be able to move it to the fridge. I leave it overnight or for 3-4 hours so the plate shrinks some in the mold, making it easier to remove.
Then, you are ready to remove the plate from the mold.
Ready to USE.
When not using, place the plate between 2 sheets of acetate or stiff hard plastic ( I use two sheets of disposable pallet paper)
Here we go again…
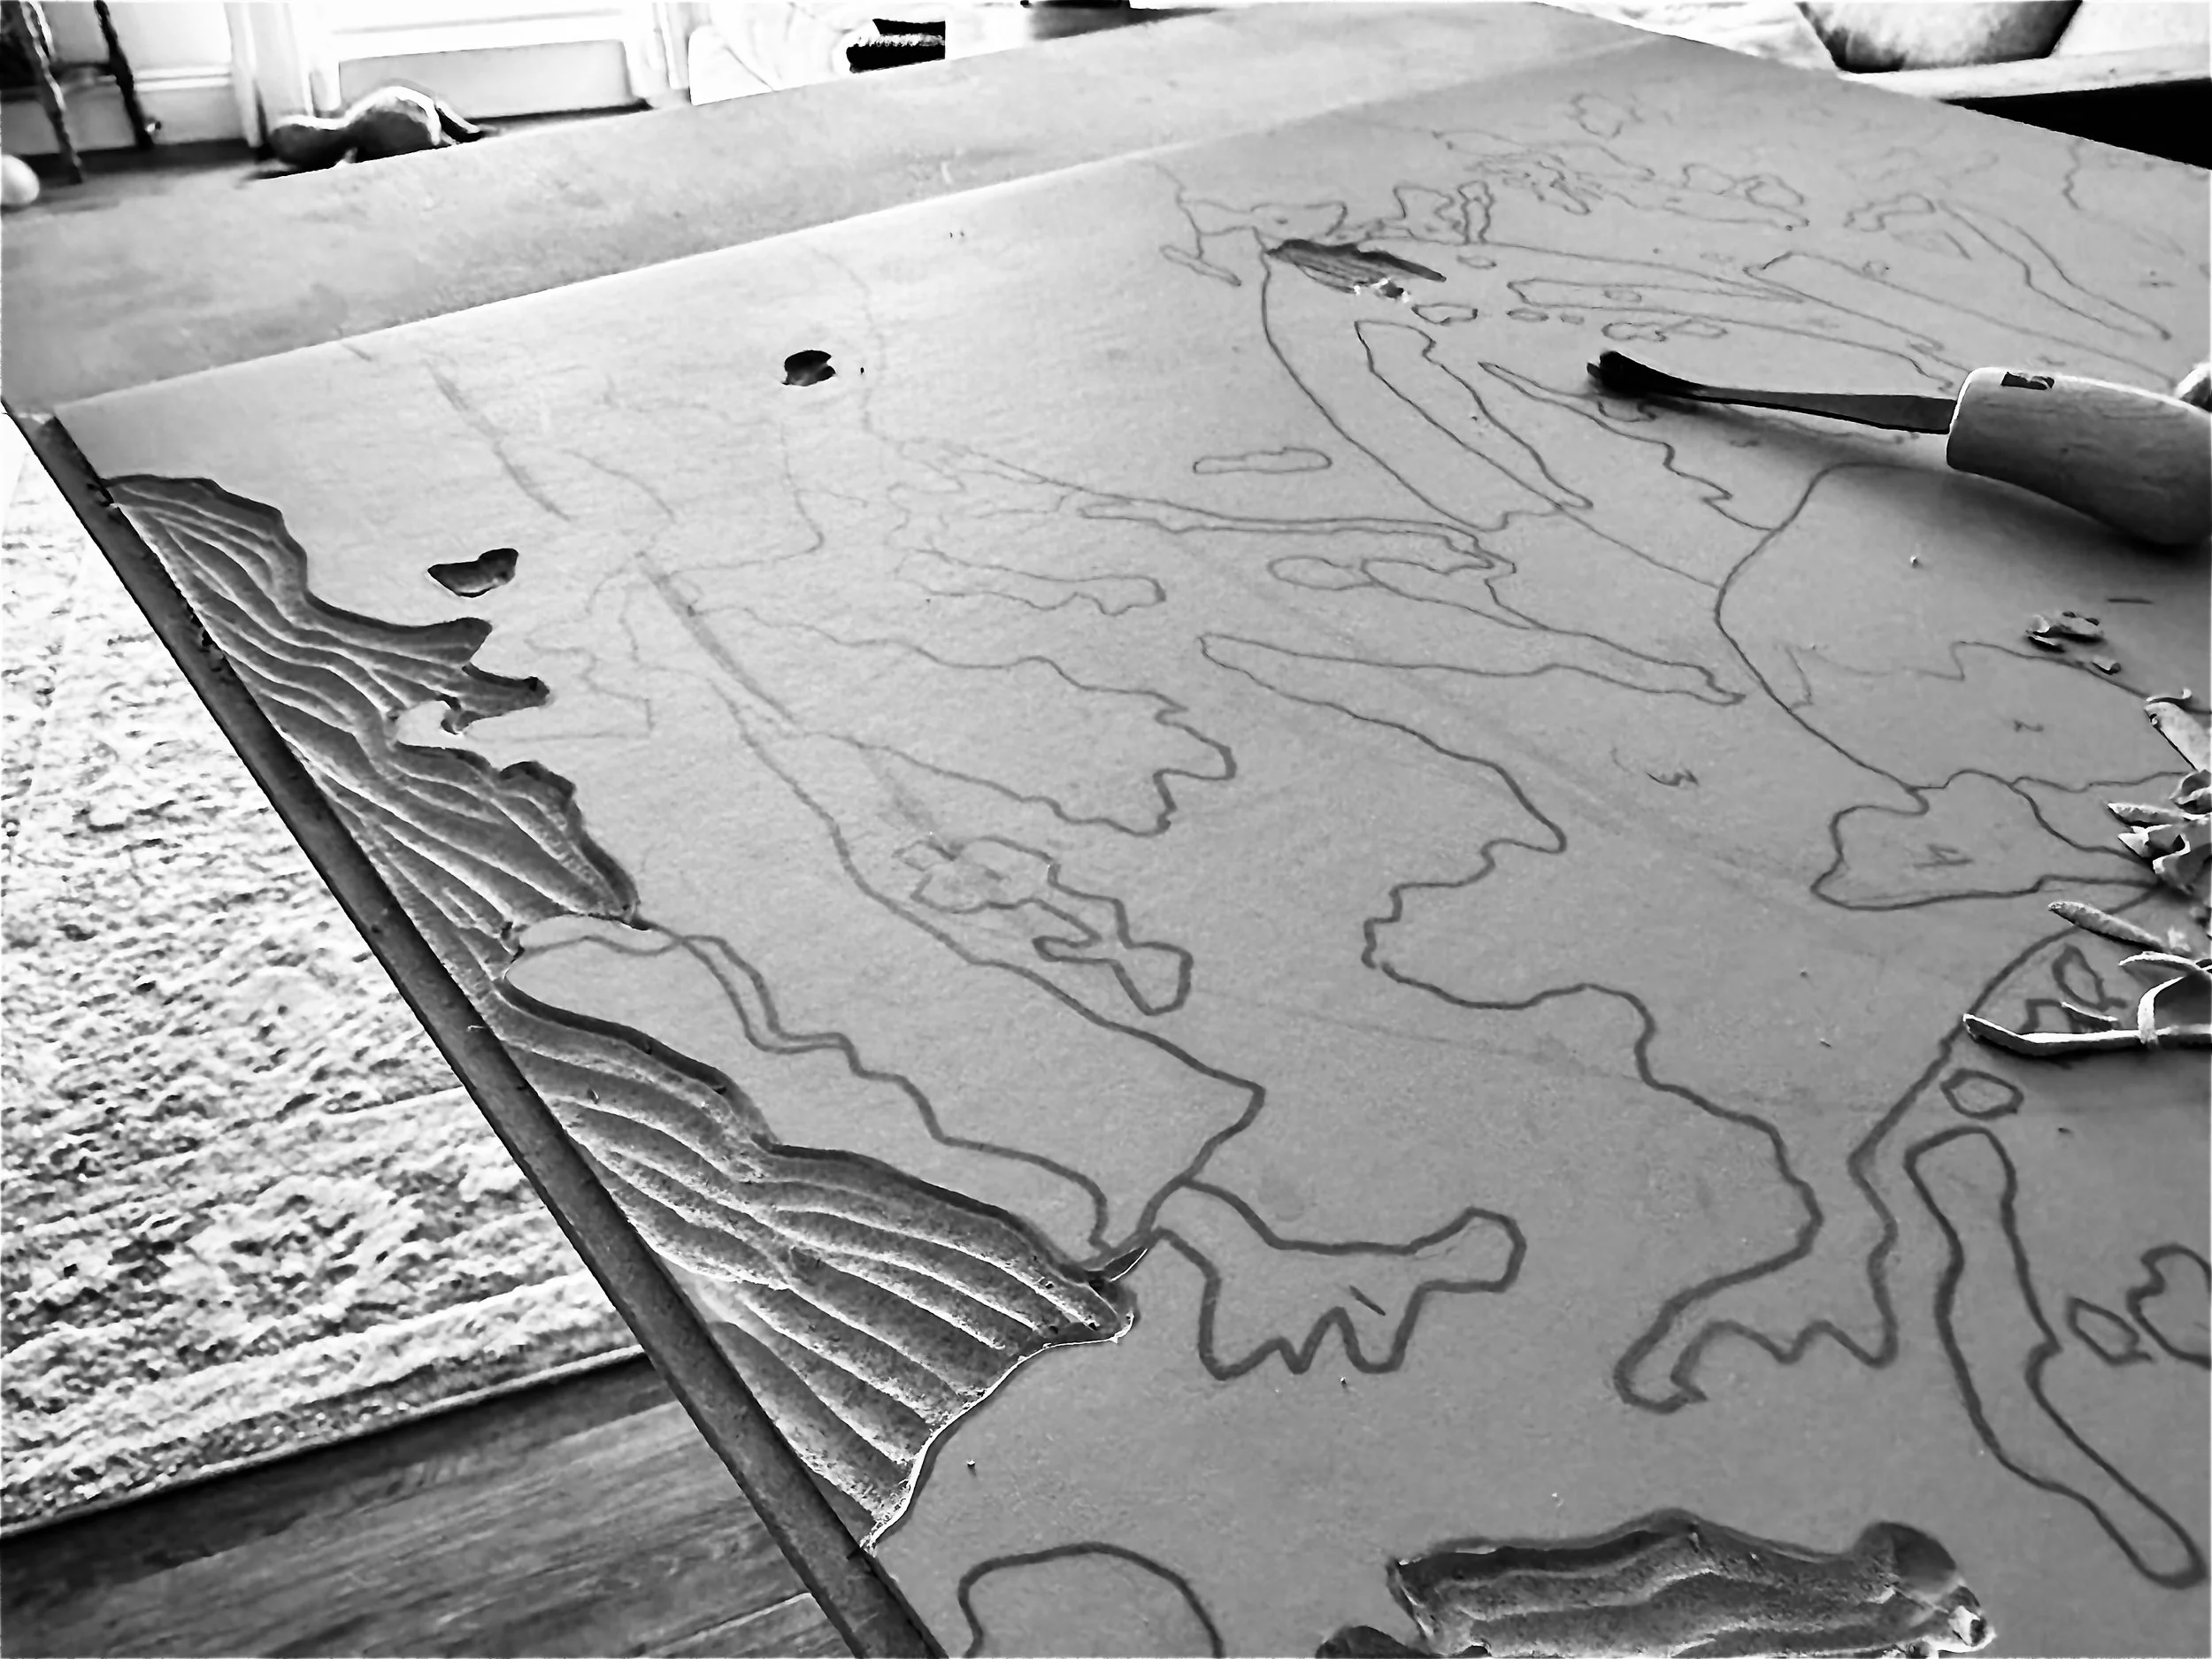
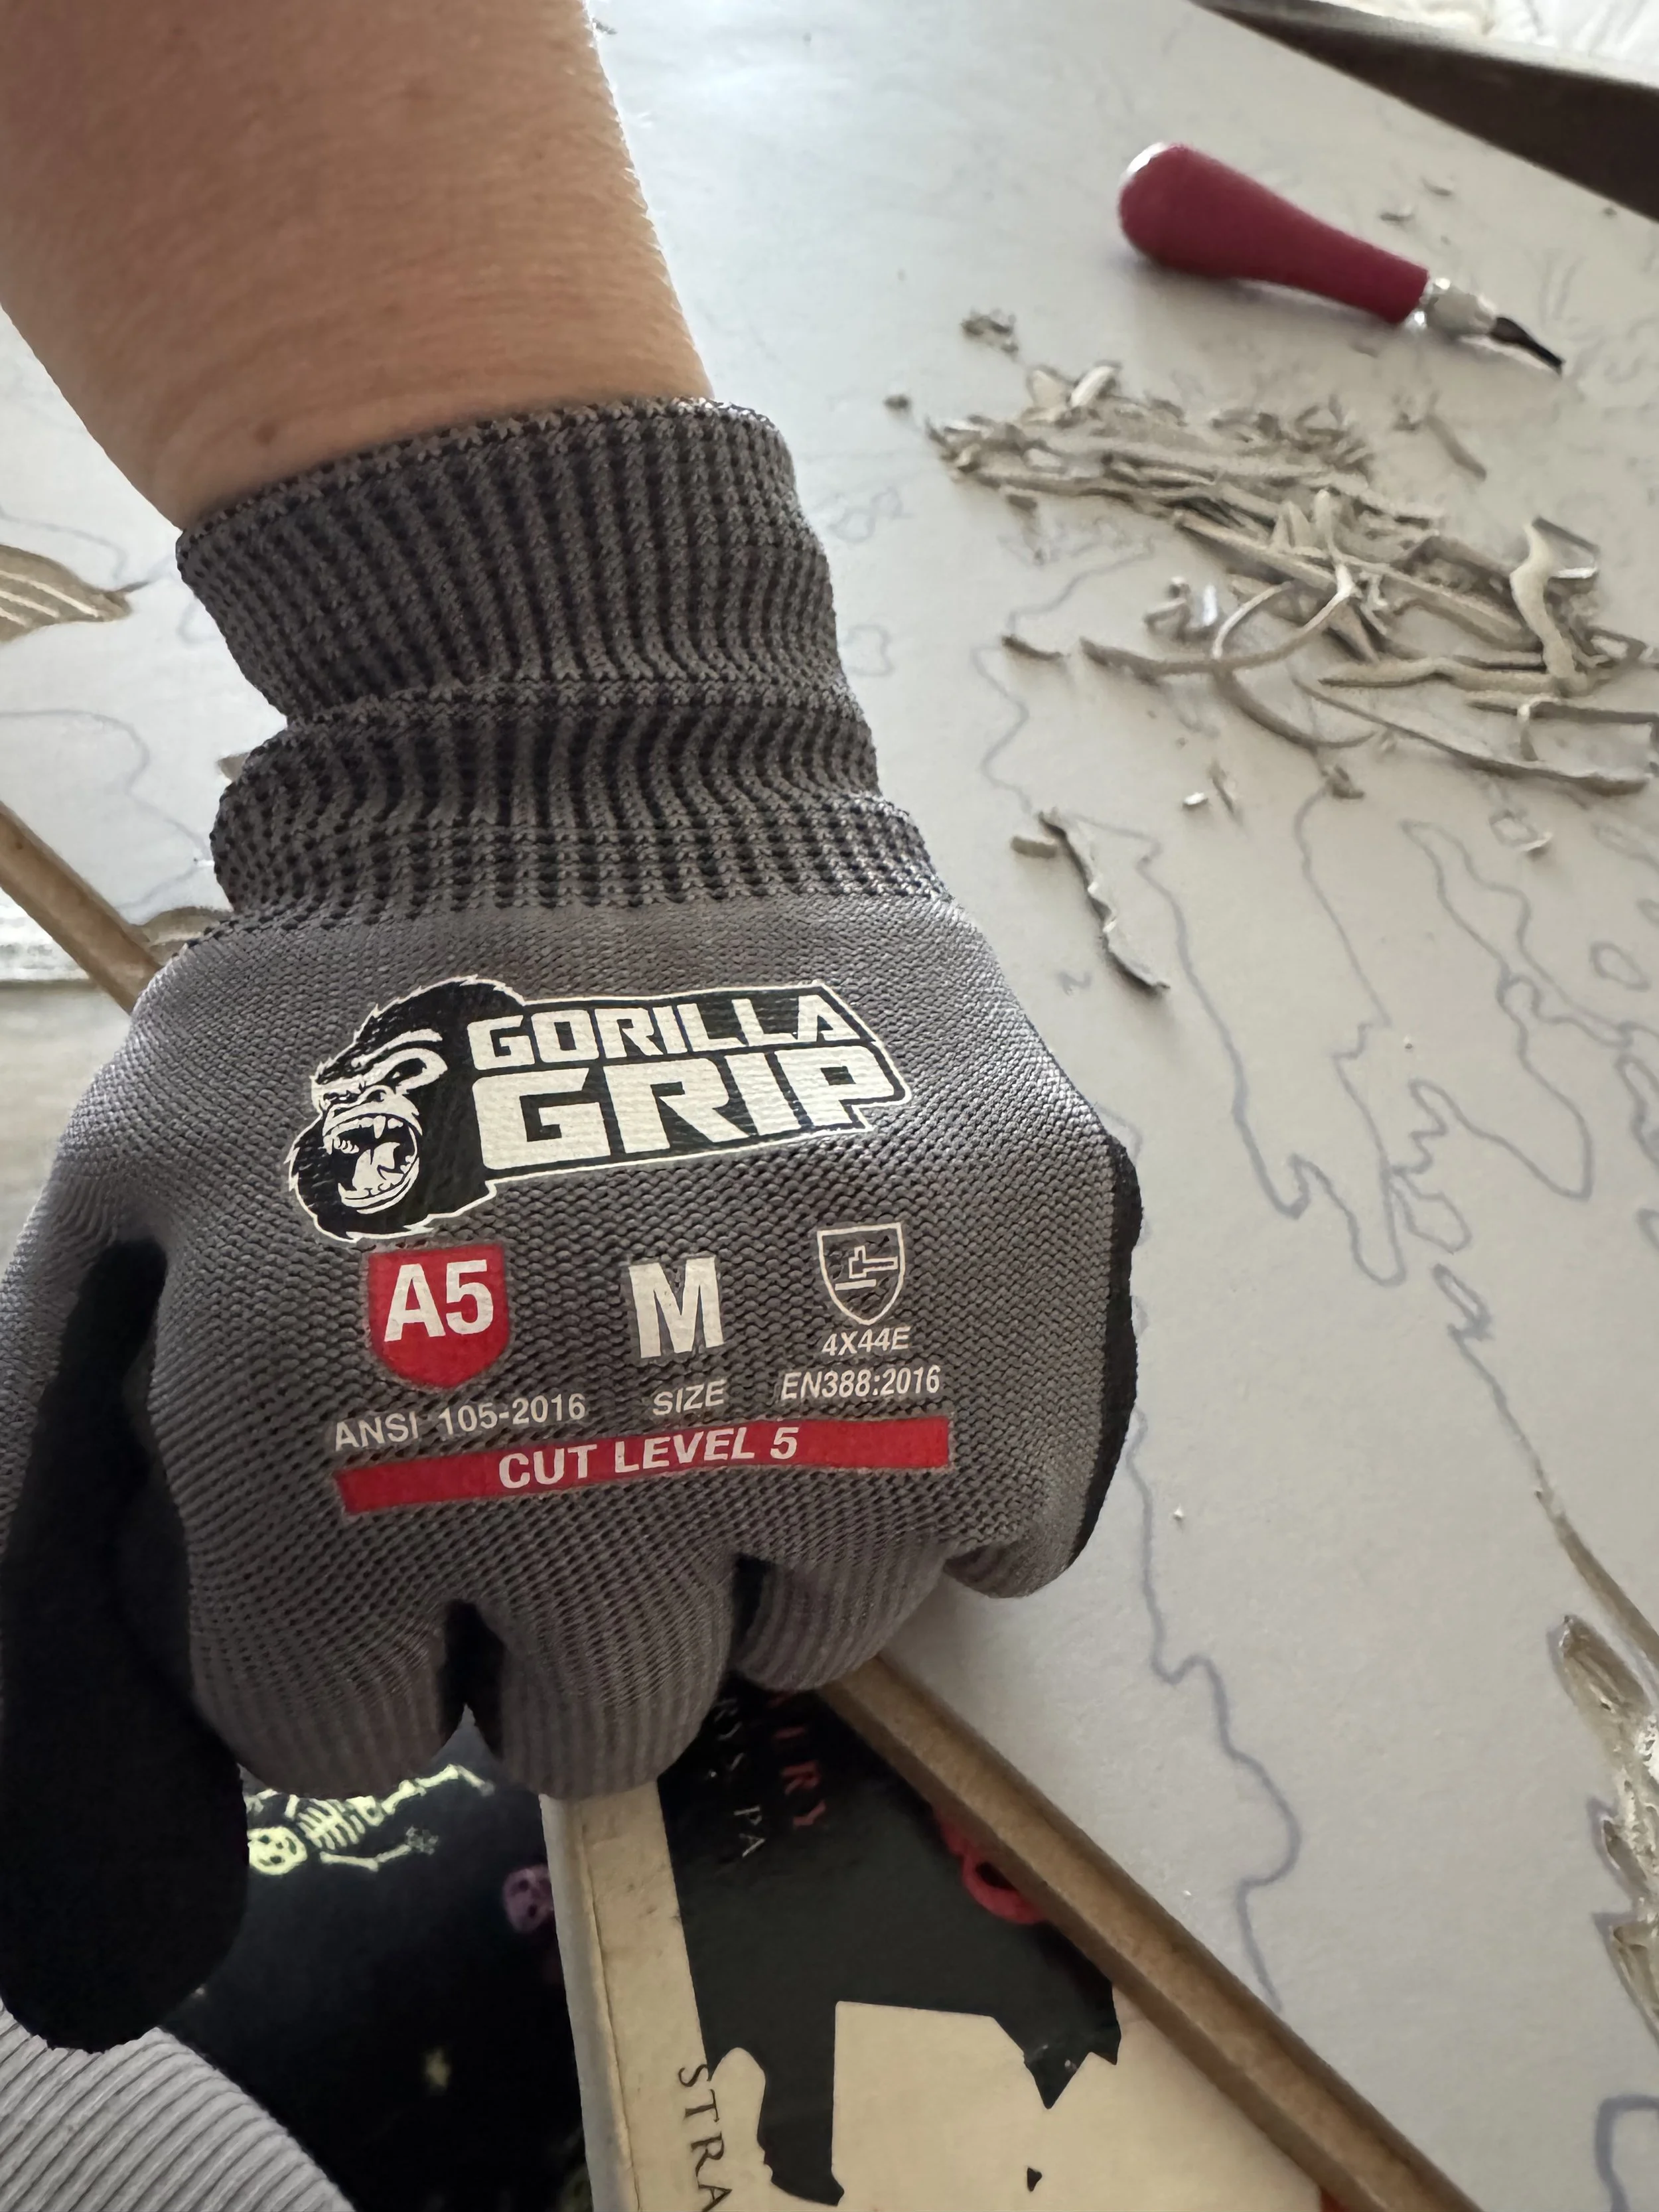
These are just some random pictures I took when carving the first color for the new print. If you know me, you know my hand has a few gouge spots from cutting. My husband was sweet and gave me these wonderful gloves for my birthday. They work great, and they have saved my hand several times already.
Pretty in Pink
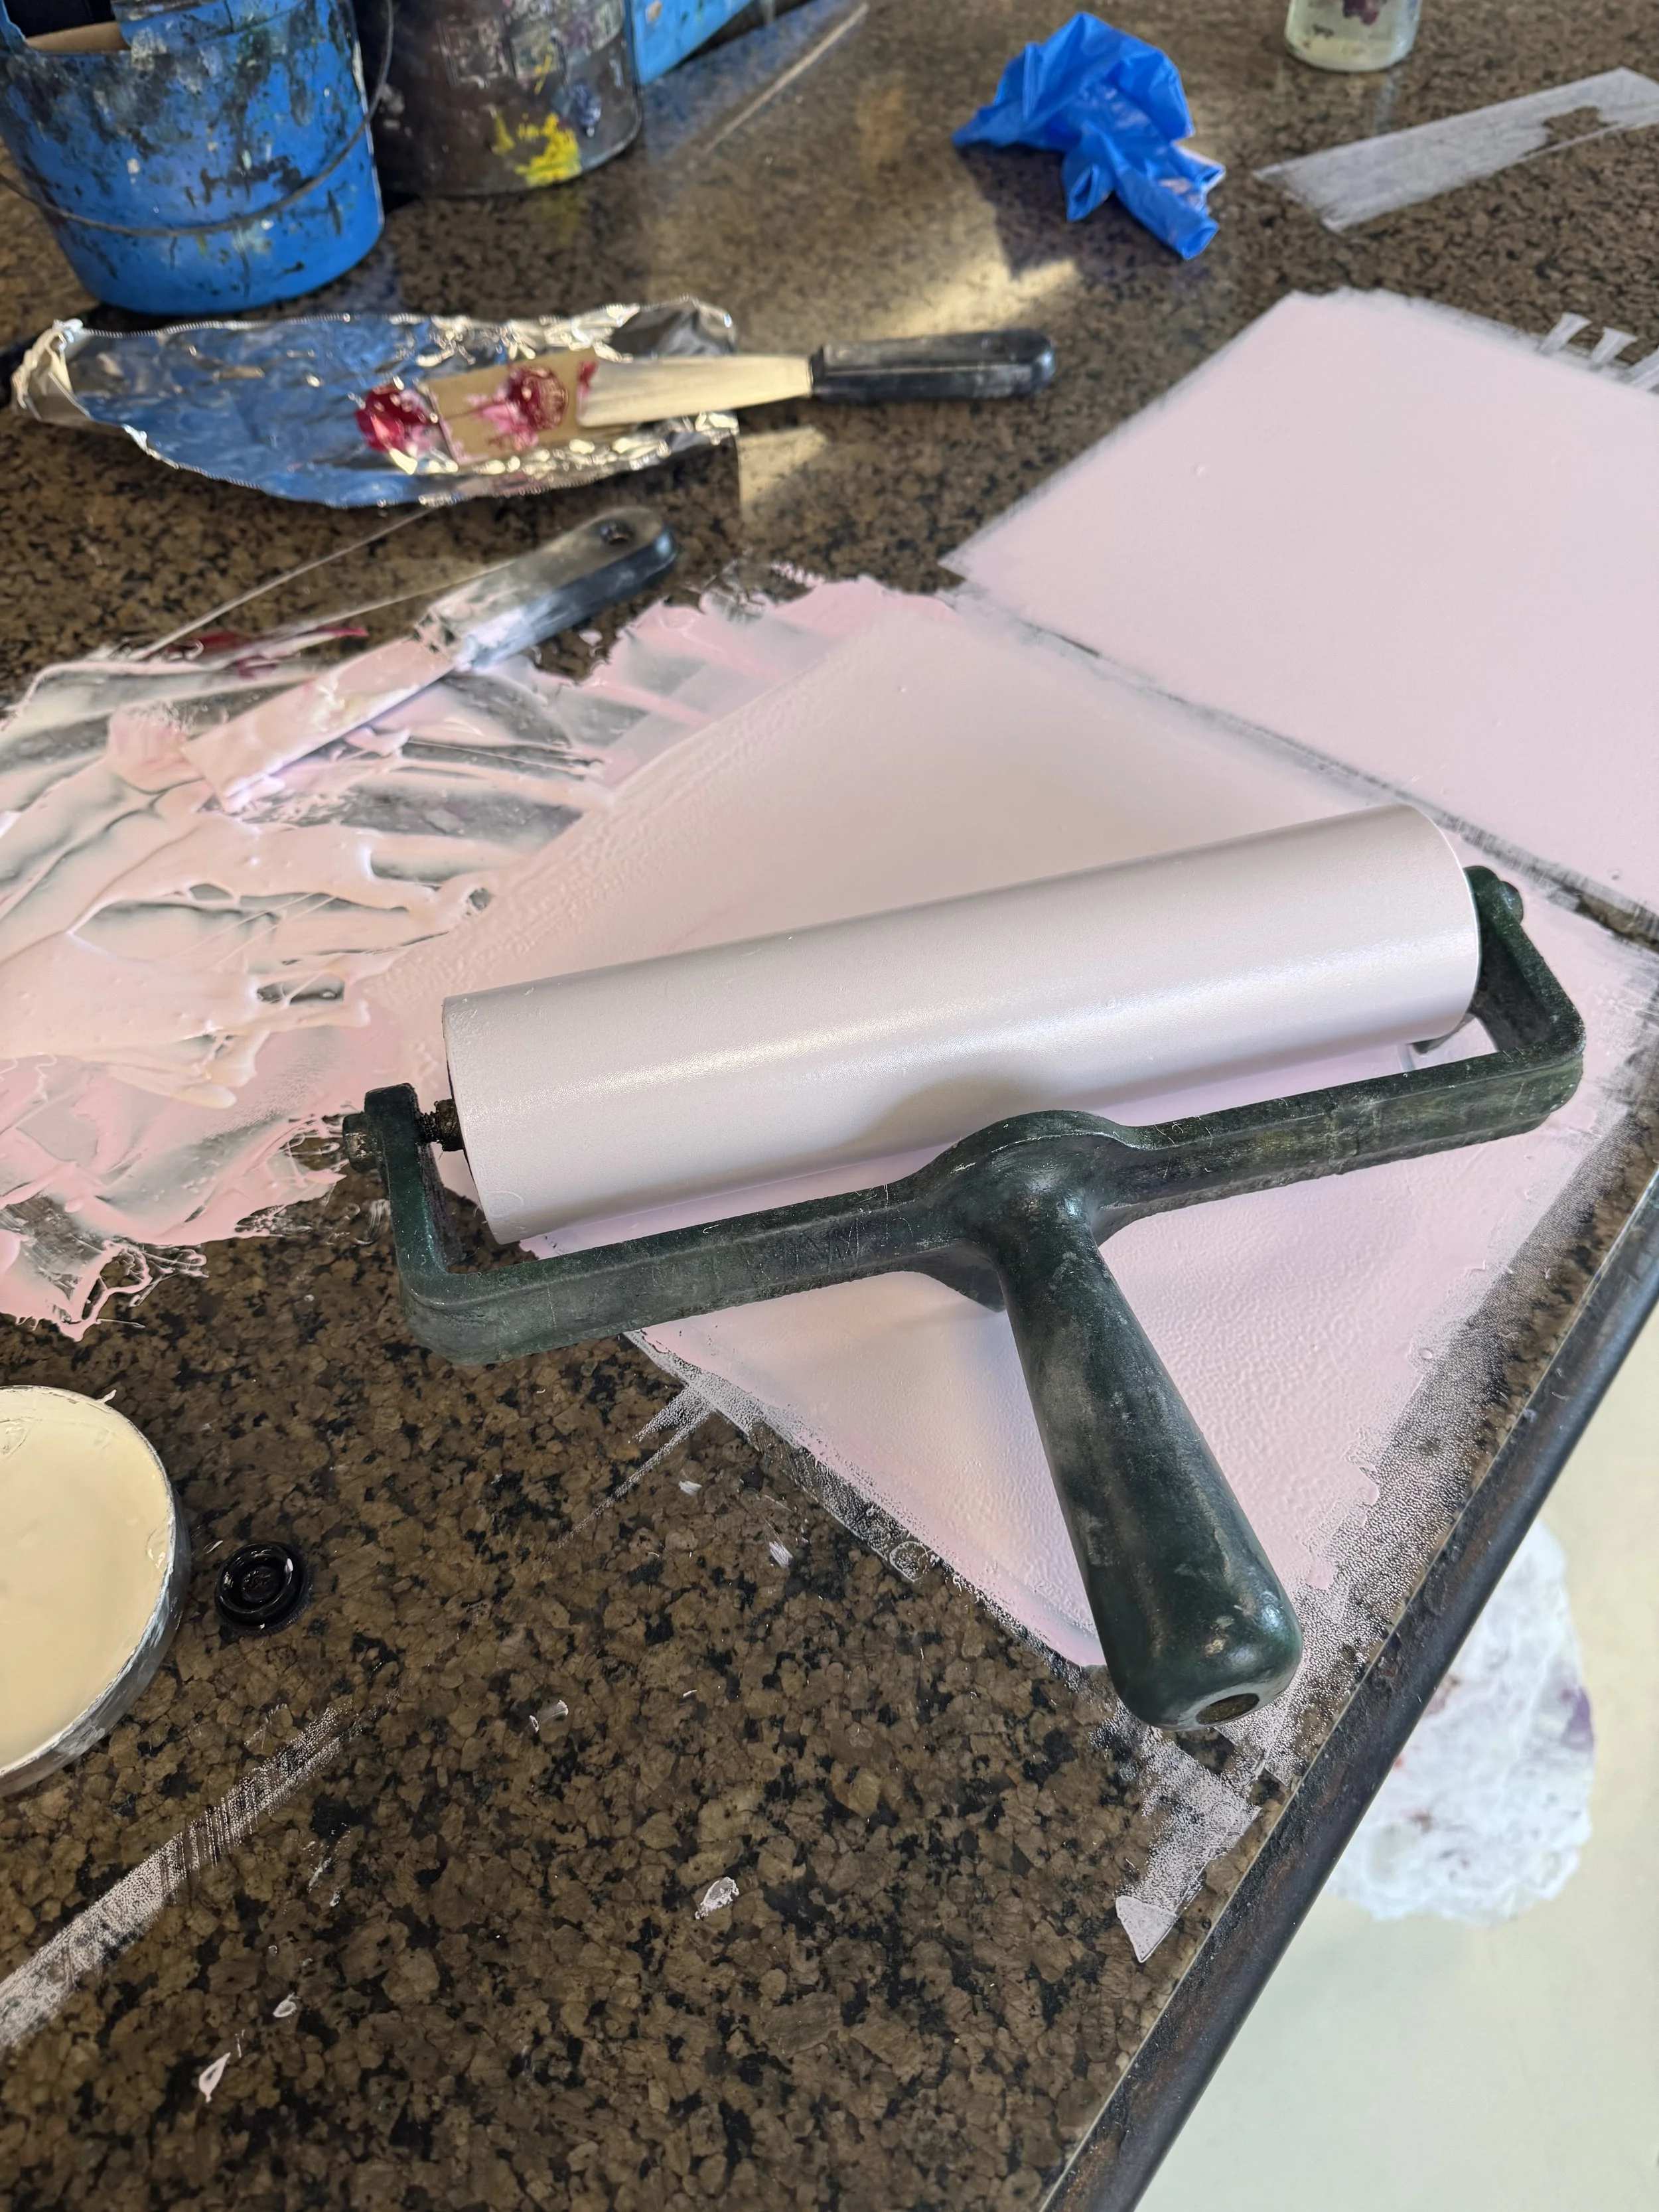
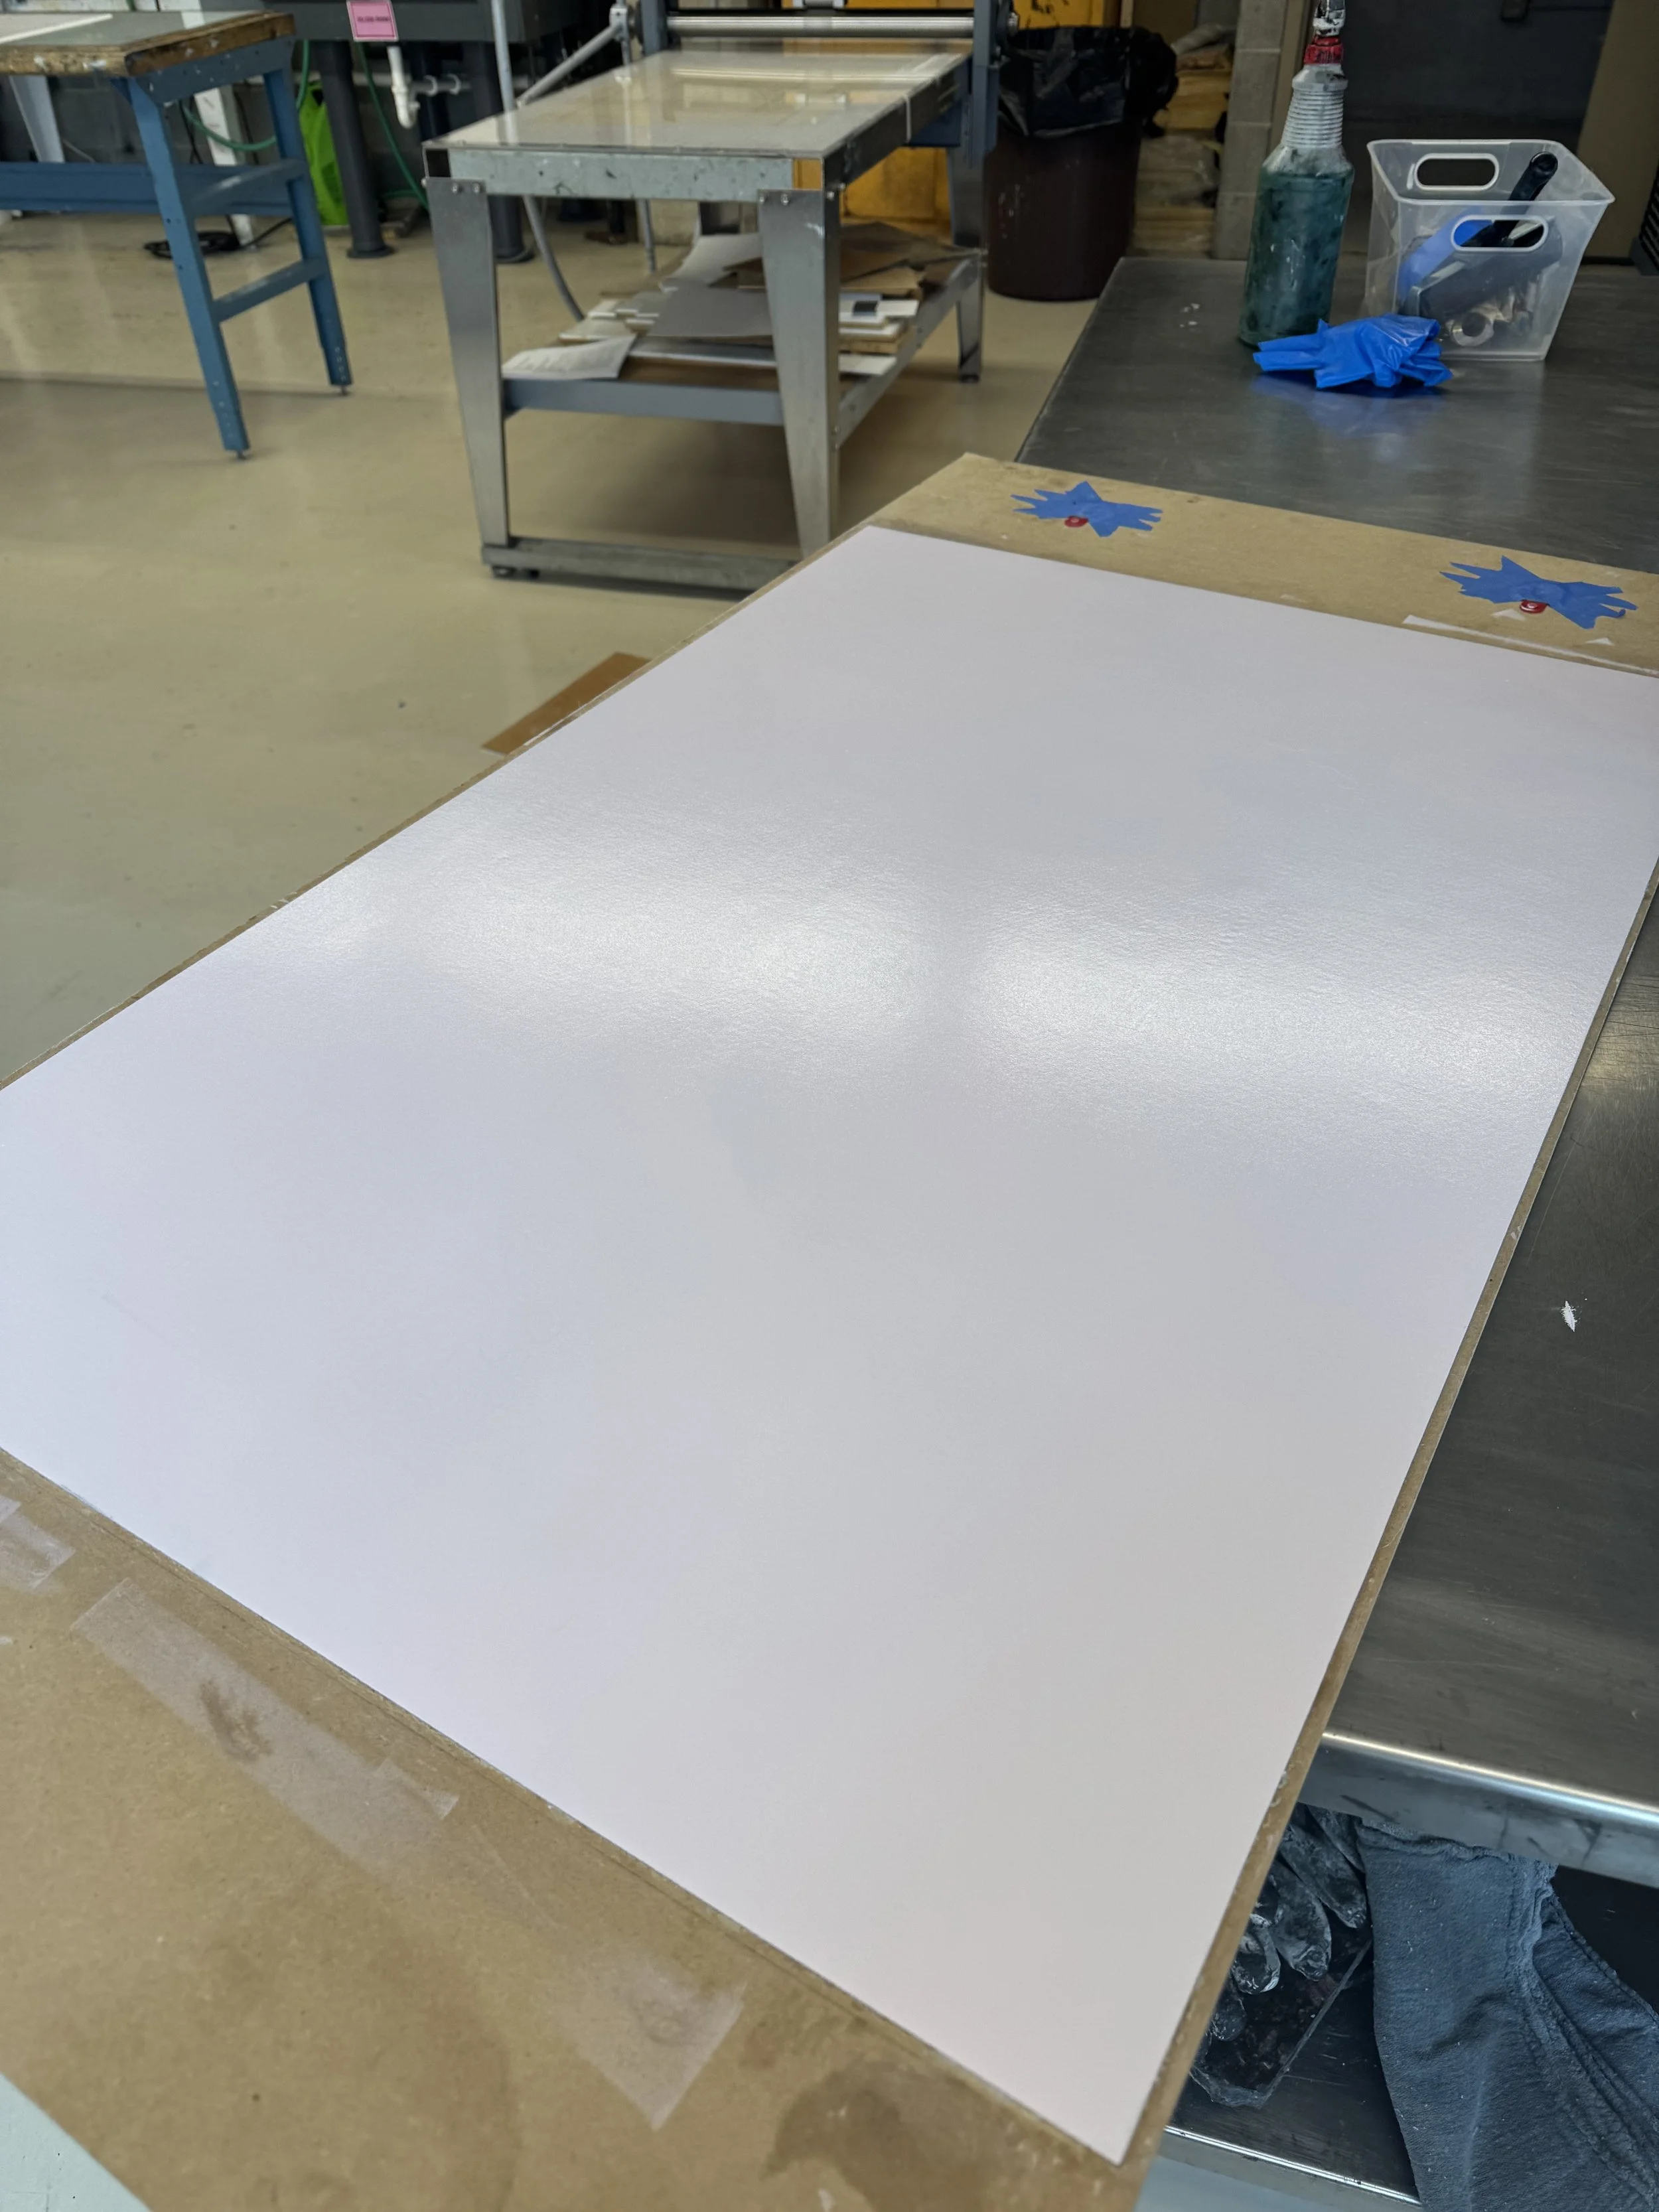
I was able to print 10 first color 24”x36” prints. I love the color of pink that I chose. It’s just a lovely soft pink that will be the primary color or highlight of the flower. I’m excited to get carving this weekend. I had trouble again with inking the linoleum on the first color. I cleaned the linoleum with oil, simple green, alcohol, and turpentine. Eventually, the ink stuck, but only after many rolls of ink. This has happened to me a couple of times now with the linoleum. I took my time with each print to ensure it would get good results every time. That was stressful for me because I have no patience and I’m learning something new every time I go in the print room.
2/24/25
Well, it’s quiet around here this week. It’s winter break all week. I decided to keep working as much as I could over the break. I feel behind having to wait to order the paper, but that’s okay because it came the next day. Thank you, Talas. I spent today tearing about 20 sheets of 30x43 to start printing my next large 24x36 lino cut.
Nabis
The Nabis movement is a group of artists I relate to in my art practice. I find several similarities between their artistic practice and my own:
• Vivid Expressive Colors: Nabis and I utilize vibrant colors to evoke emotions and create a sense of depth within our compositions.
• Subject Matter: Works often explore themes that delve into the human experience, drawing from personal narratives and broader cultural contexts.
• Emotional and Spiritual Content: Both the Nabis and I focus on exploring inner experiences, emphasizing emotional and spiritual resonance in our art.
• Form and Composition: We employ flattened forms and decorative elements, creating distinctive visual language that prioritizes aesthetic appeal.
• Cultural Influences: Like the Nabis, I draw inspiration from various movements and cultures, including Japanese art and printmaking, which inform my artistic choices.
• Artistic Intent: The intent behind my work aligns closely with that of Nabis; both aim to convey messages and feelings that invoke emotion and introspection in the viewer.
2/13/25
I am continuing to carve and print the next couple of colors. The colors I initially designed have slightly changed as the process progresses. I appreciate this evolution, but I should have used different colors for the first and second layers. However, that's the joy of printing; the greatest plans are always evolving. Makes me excited to see the end results.
Welcome to my Studio Blog
1/30/2025
Senior Studio Update: Progress on My Thesis
Most of my time in the studio has been dedicated to researching for my thesis. During this process, I’ve been diving deep into relevant literature while sketching designs for my upcoming prints.
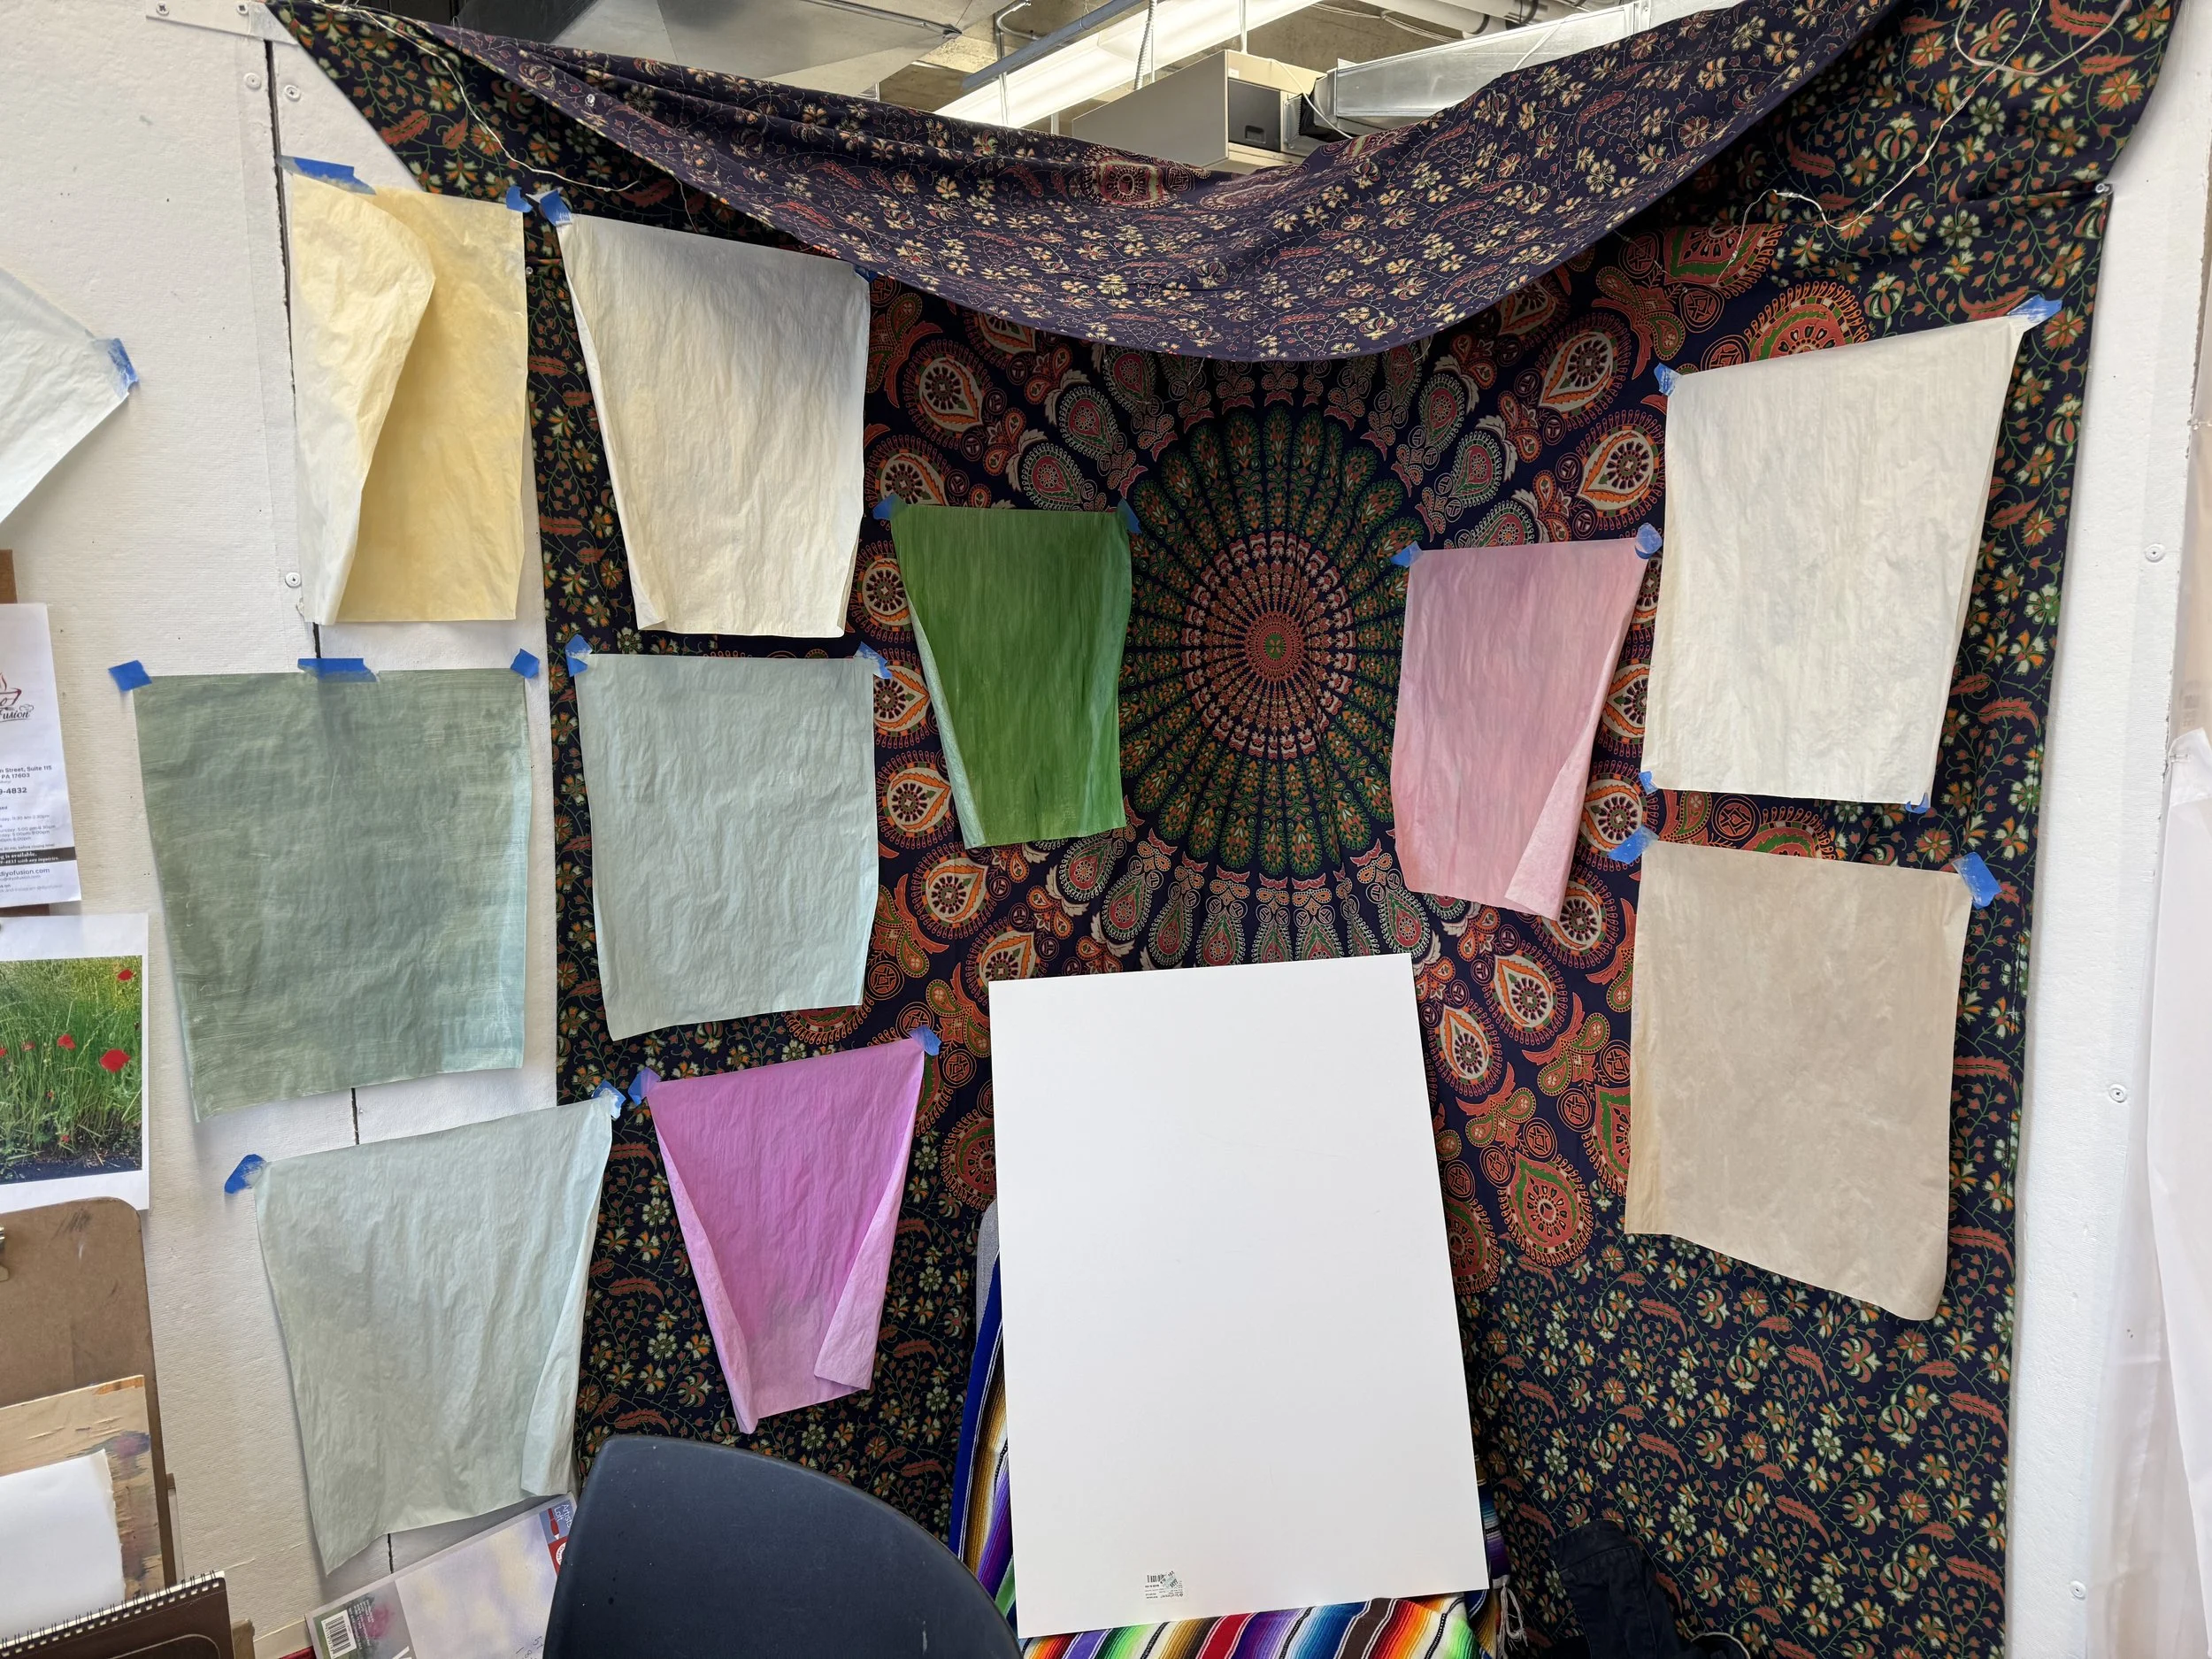
I’m excited to share that the linoleum I ordered arrived sooner than expected—thank you, Blick! I’ve laid out my design on a 24x36 piece of linoleum and am currently experimenting with color choices. I’ve been painting tracing paper with acrylics in various vibrant hues to add an extra layer to my work.
These painted sheets will create smaller studies with torn paper and nori paste, allowing me to explore different textures and compositions. I can’t wait to see how everything comes together. Stay tuned for more updates next week!
2/6/25
I started this print as a leftover project that I aimed to complete last semester but didn't get the chance to finish. Now, I've been working diligently in the studio on it. This print will be a four-color reduction linoleum print, measuring 12”x36” in a horizontal format. I'm really enjoying the carving process; it helps to clear my mind. During this creative journey, I find it challenging to think of anything negative, which I find quite therapeutic.
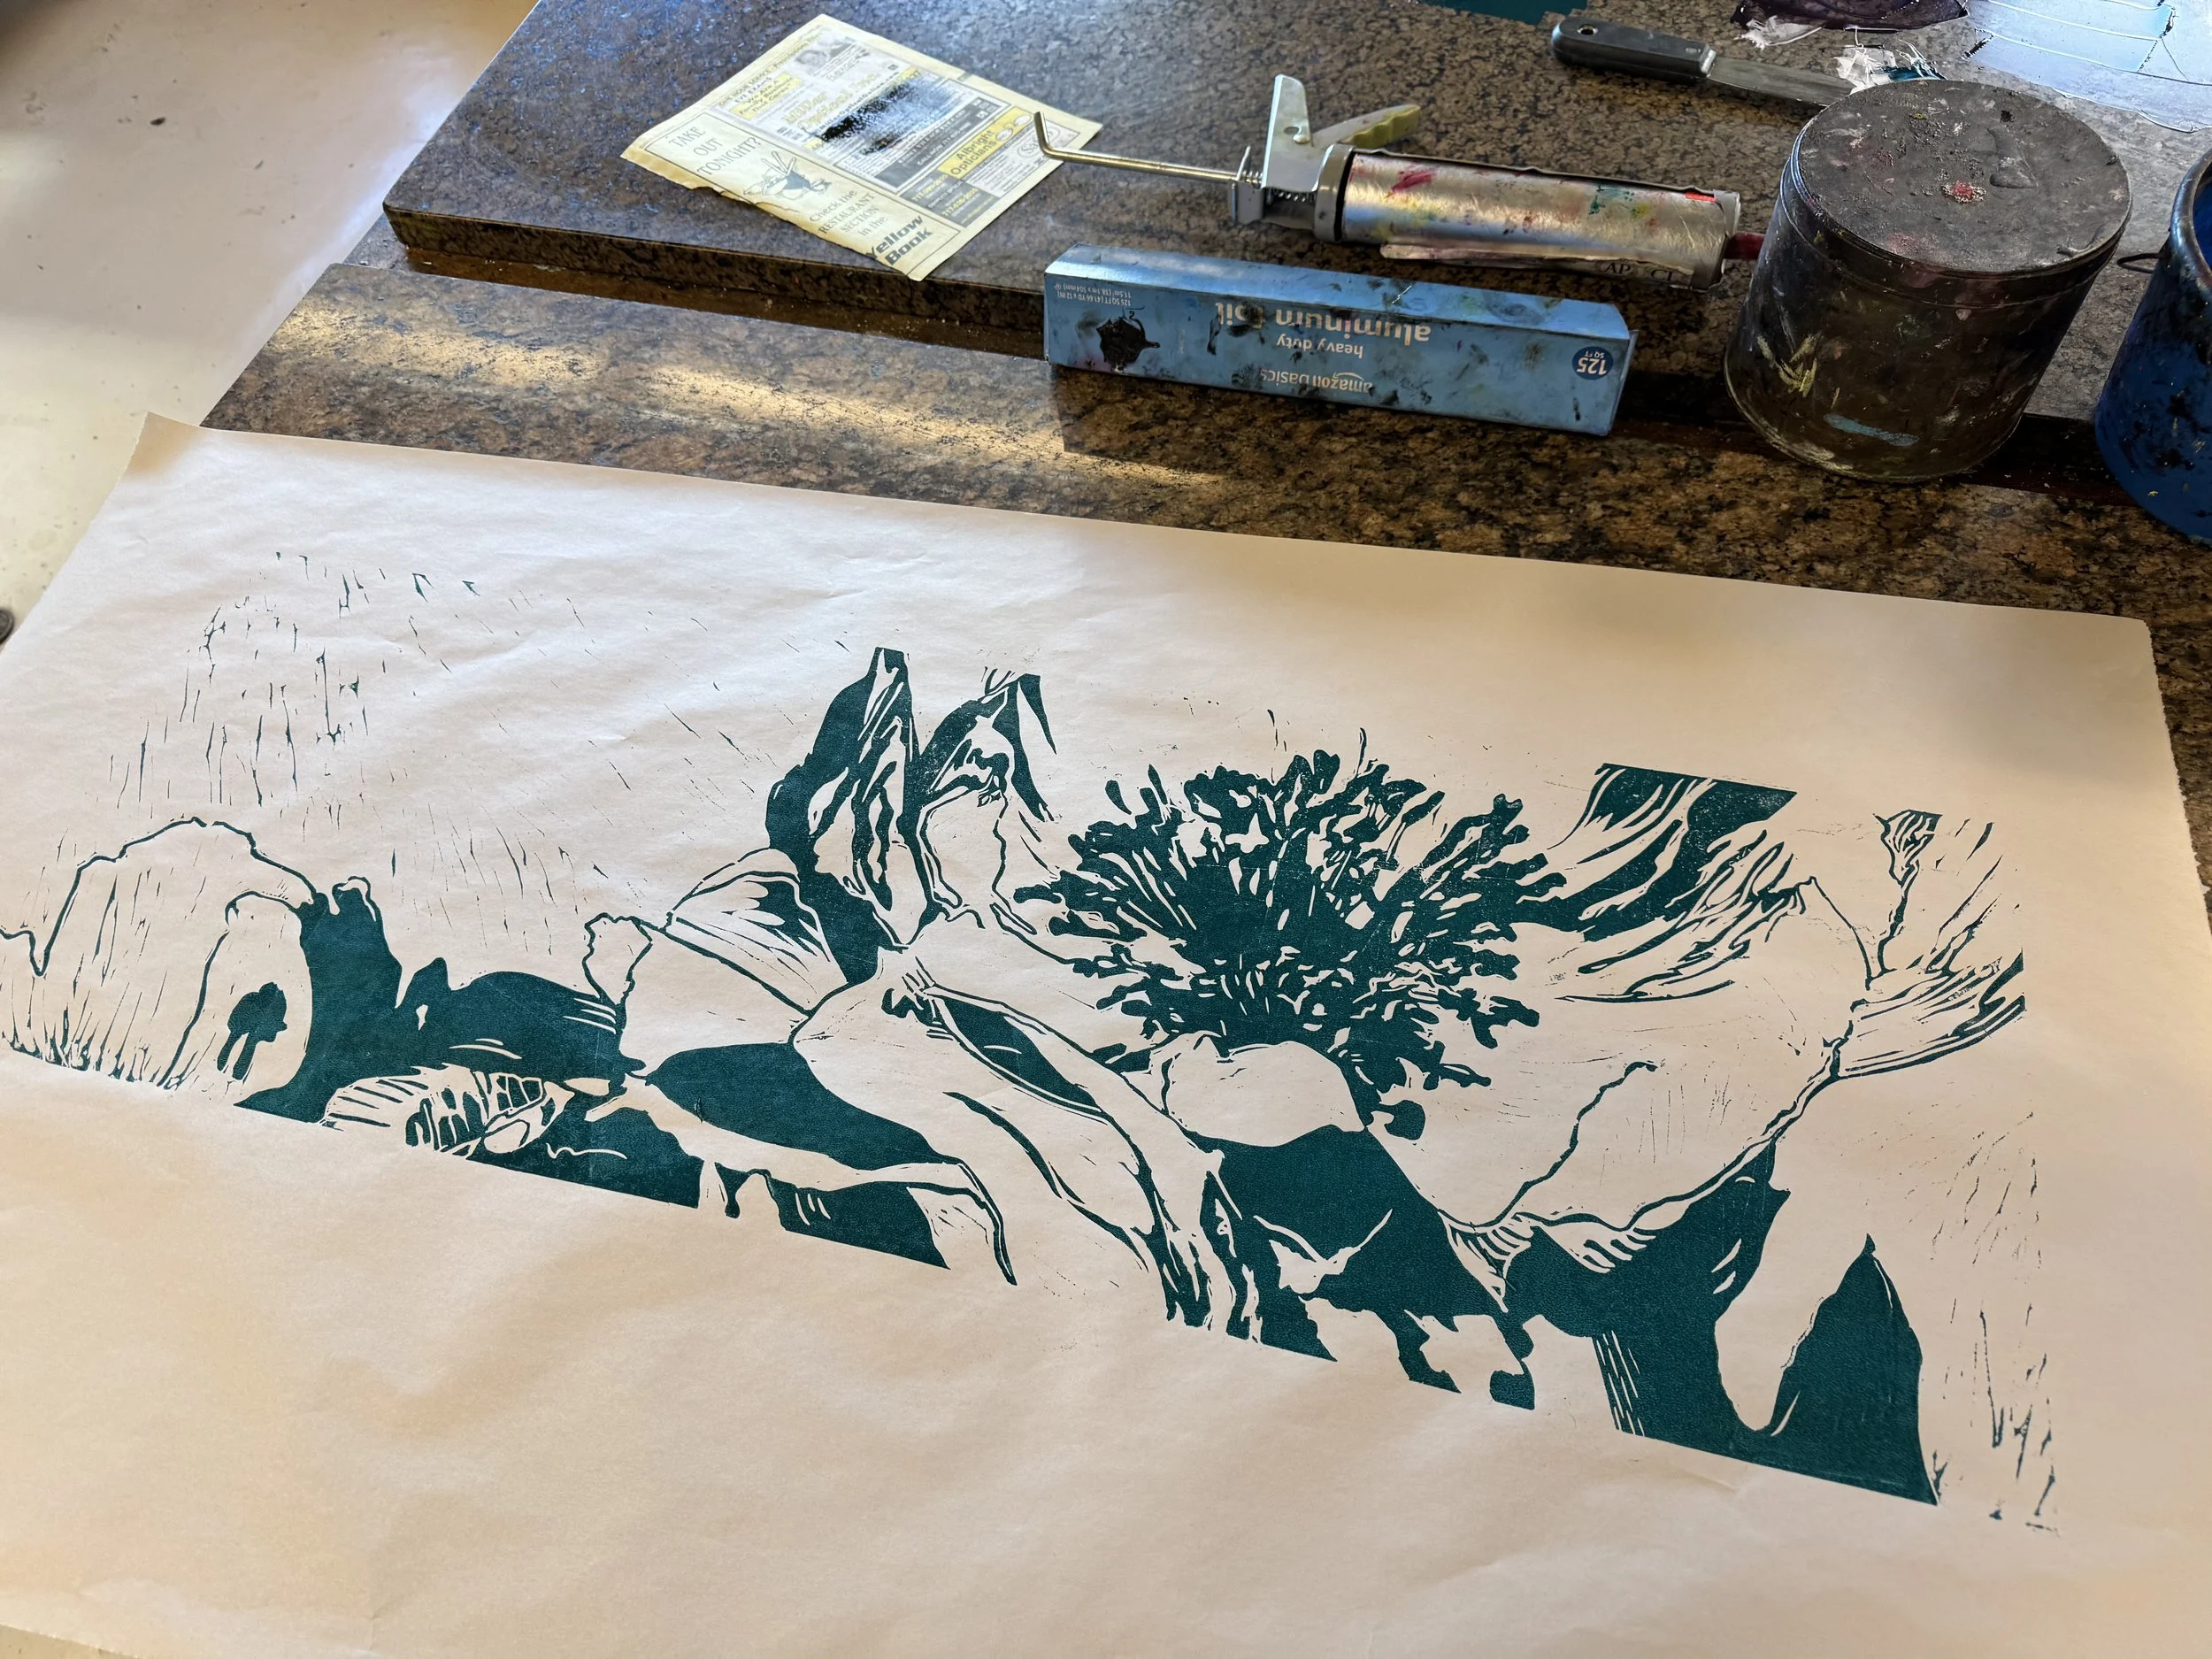
This is a print of the first color.
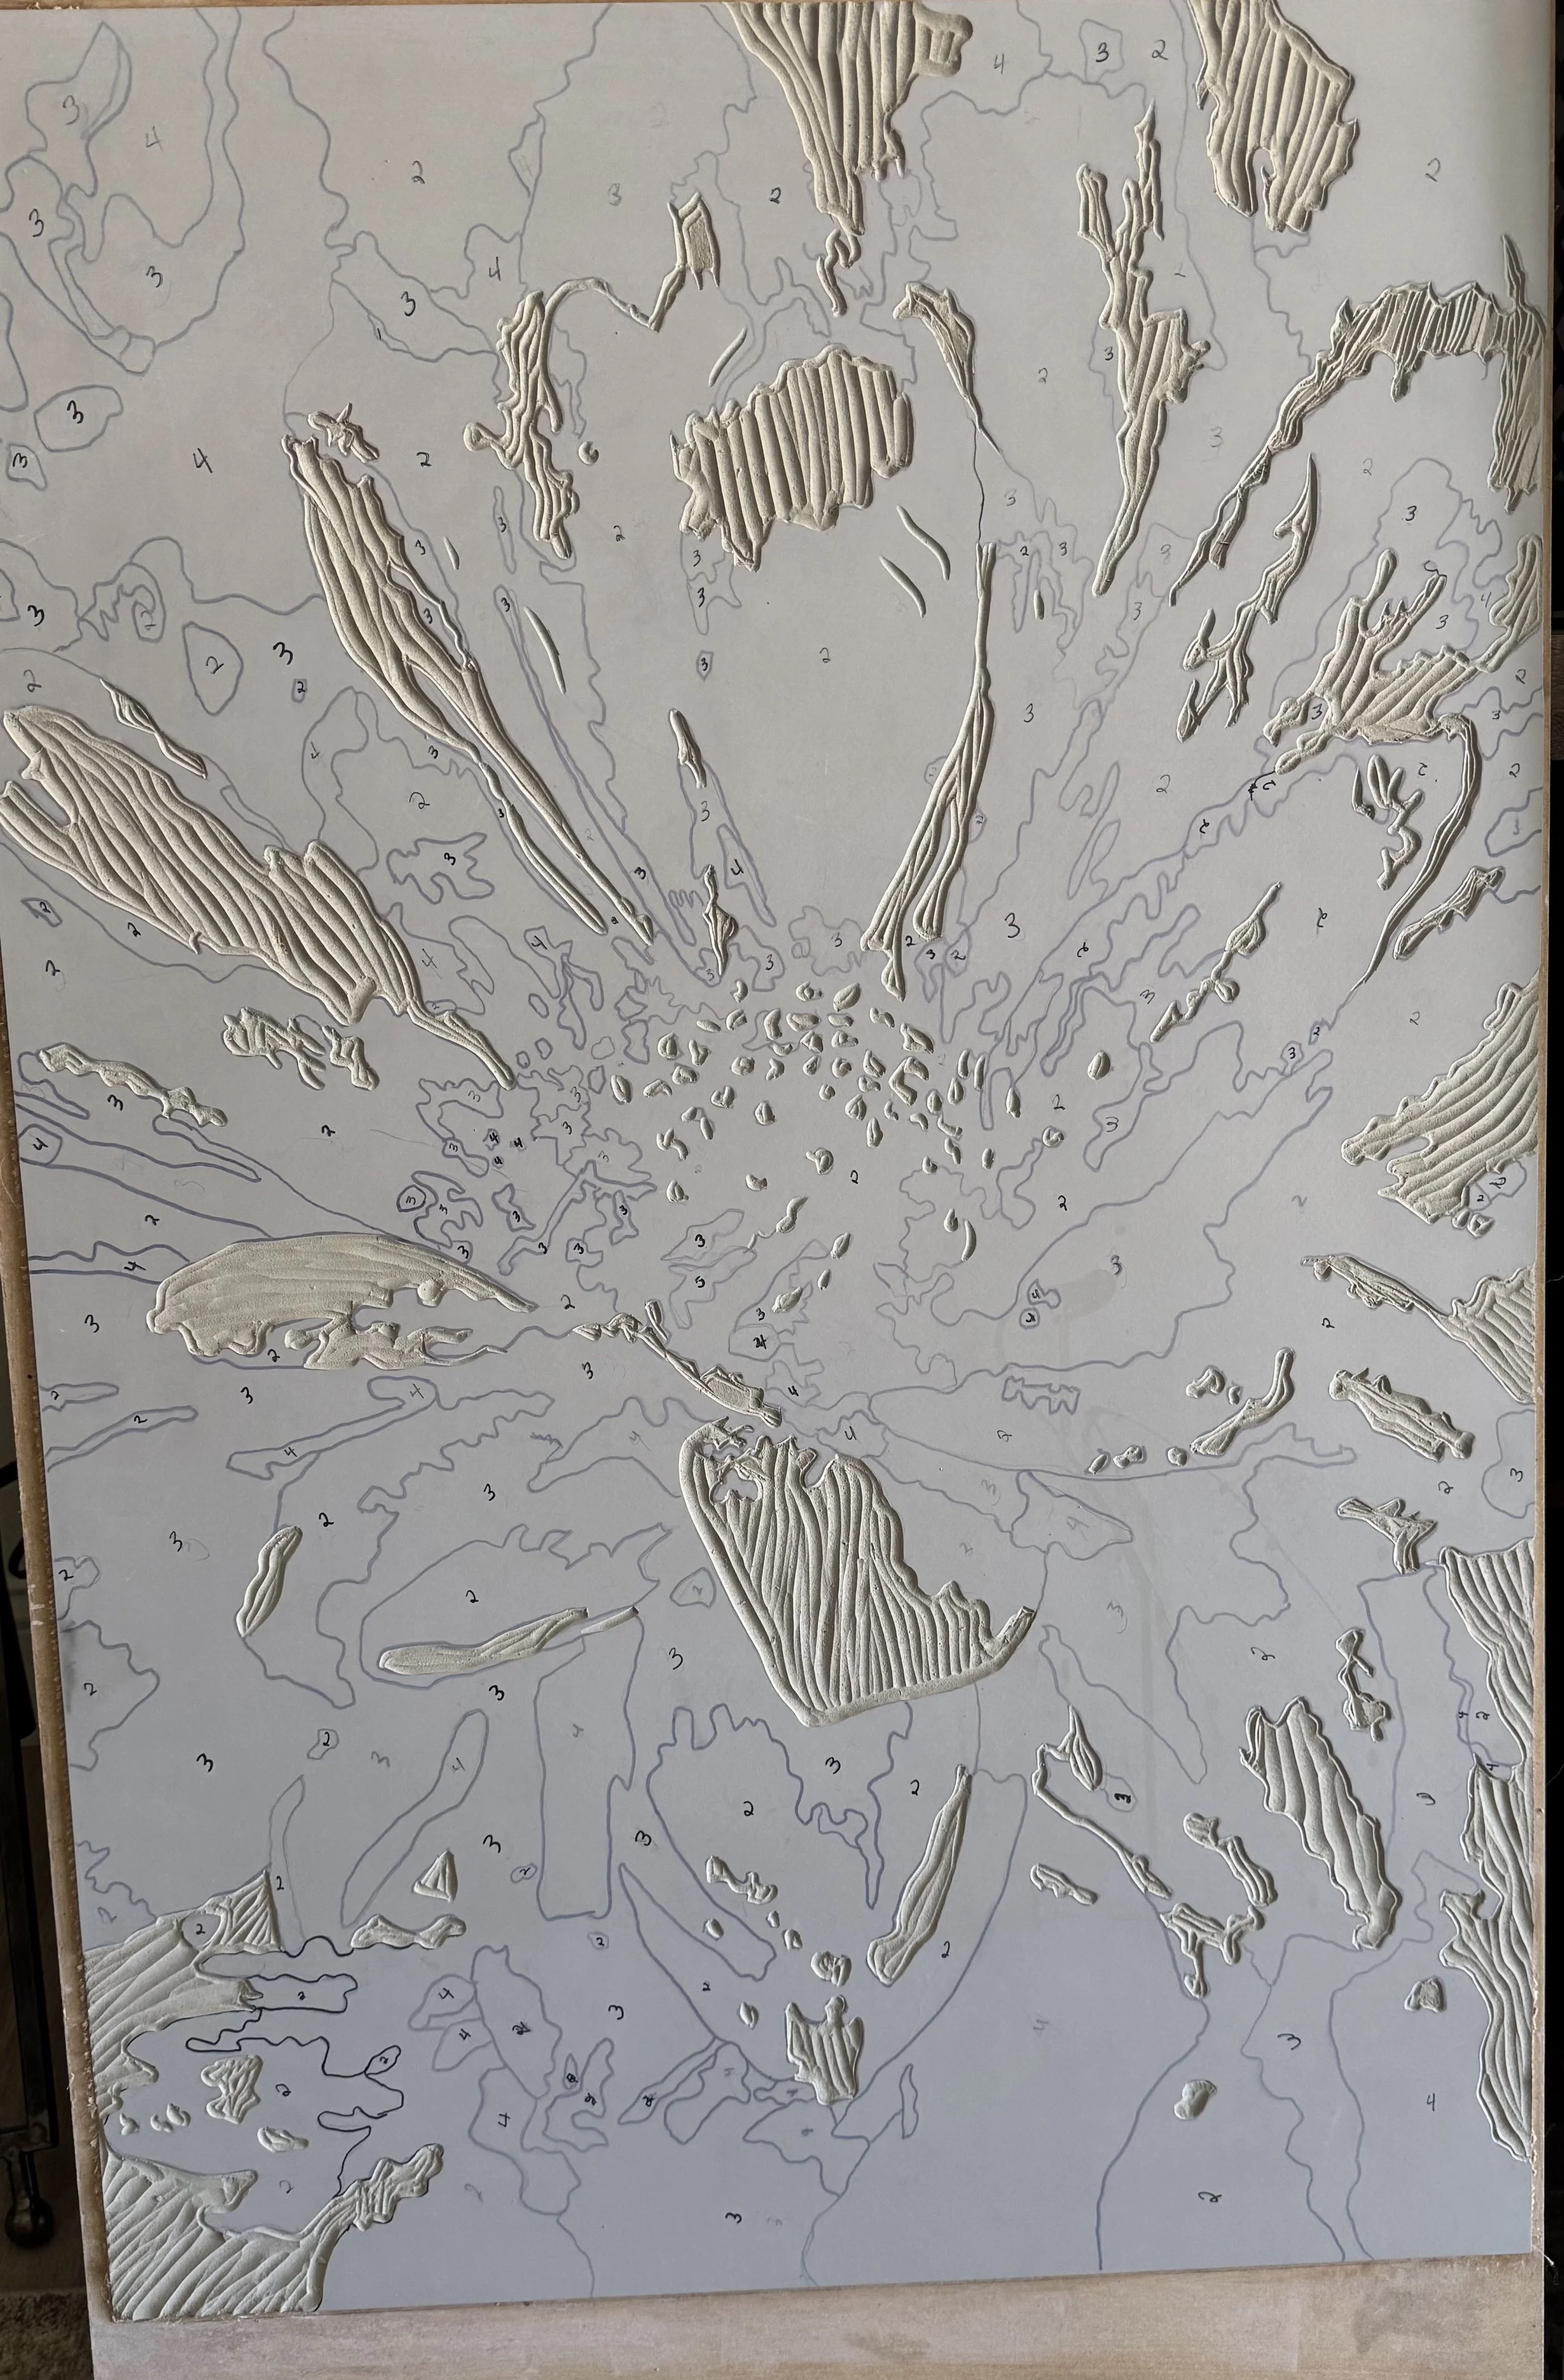
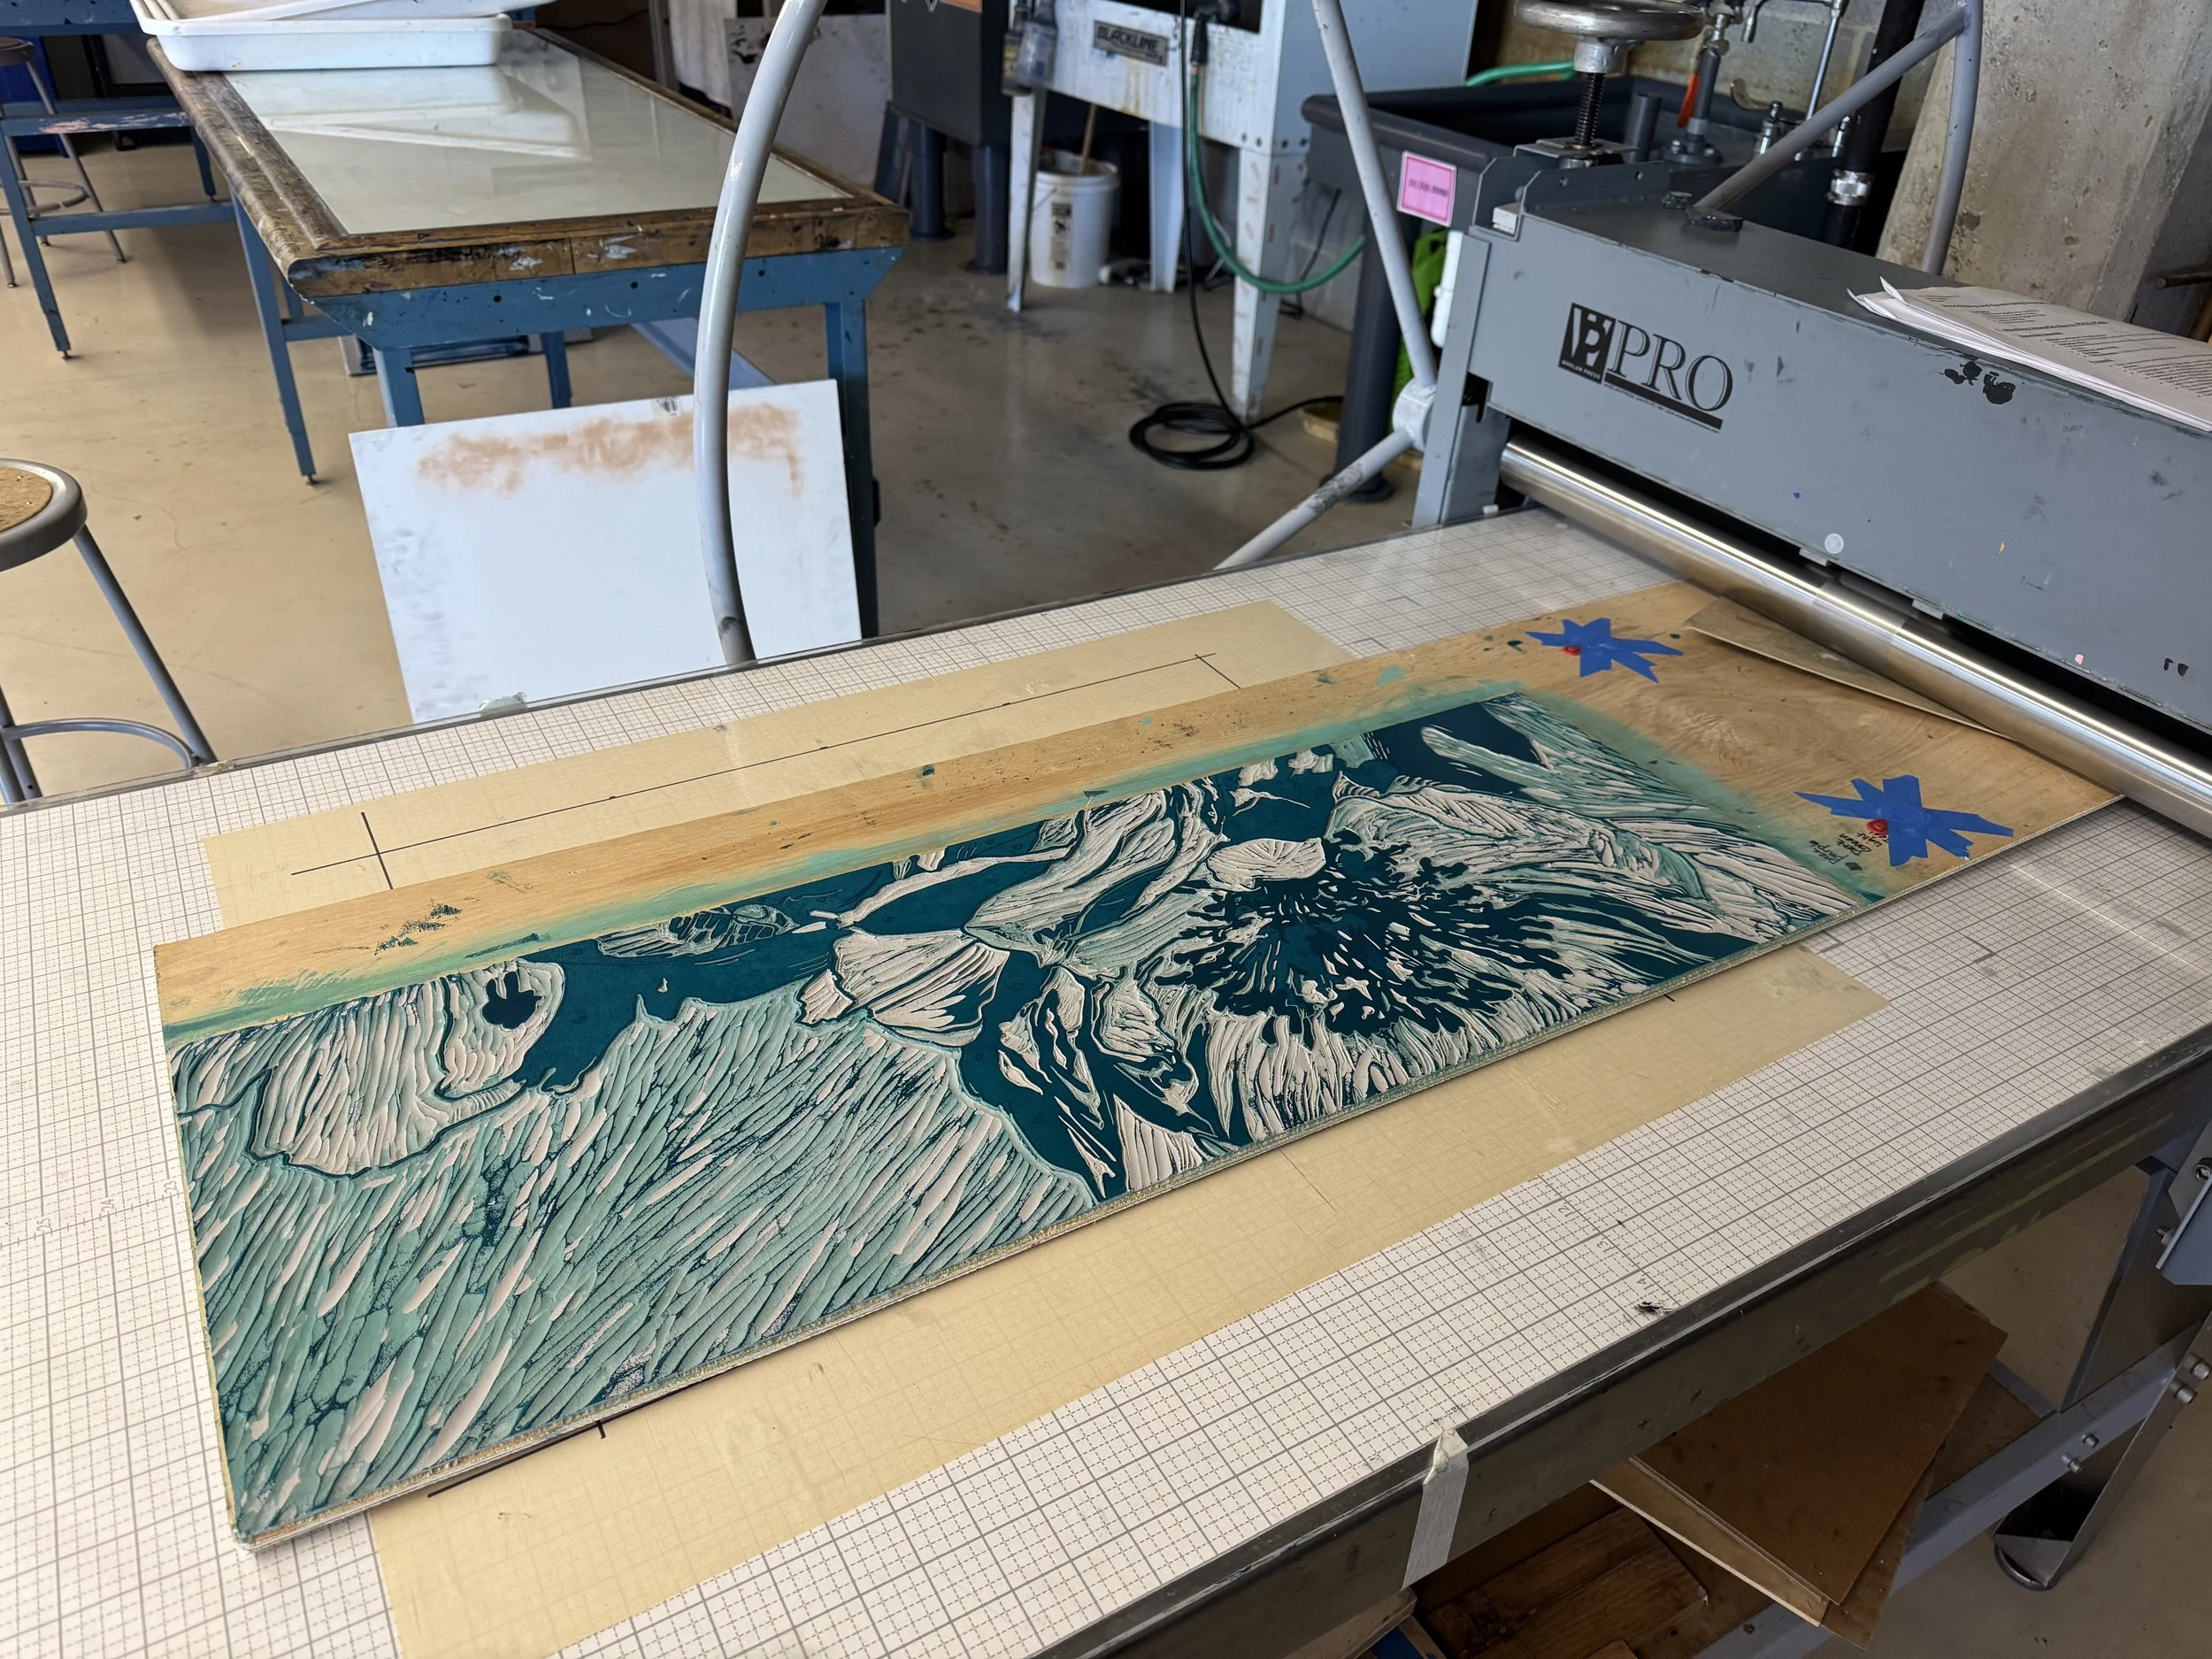
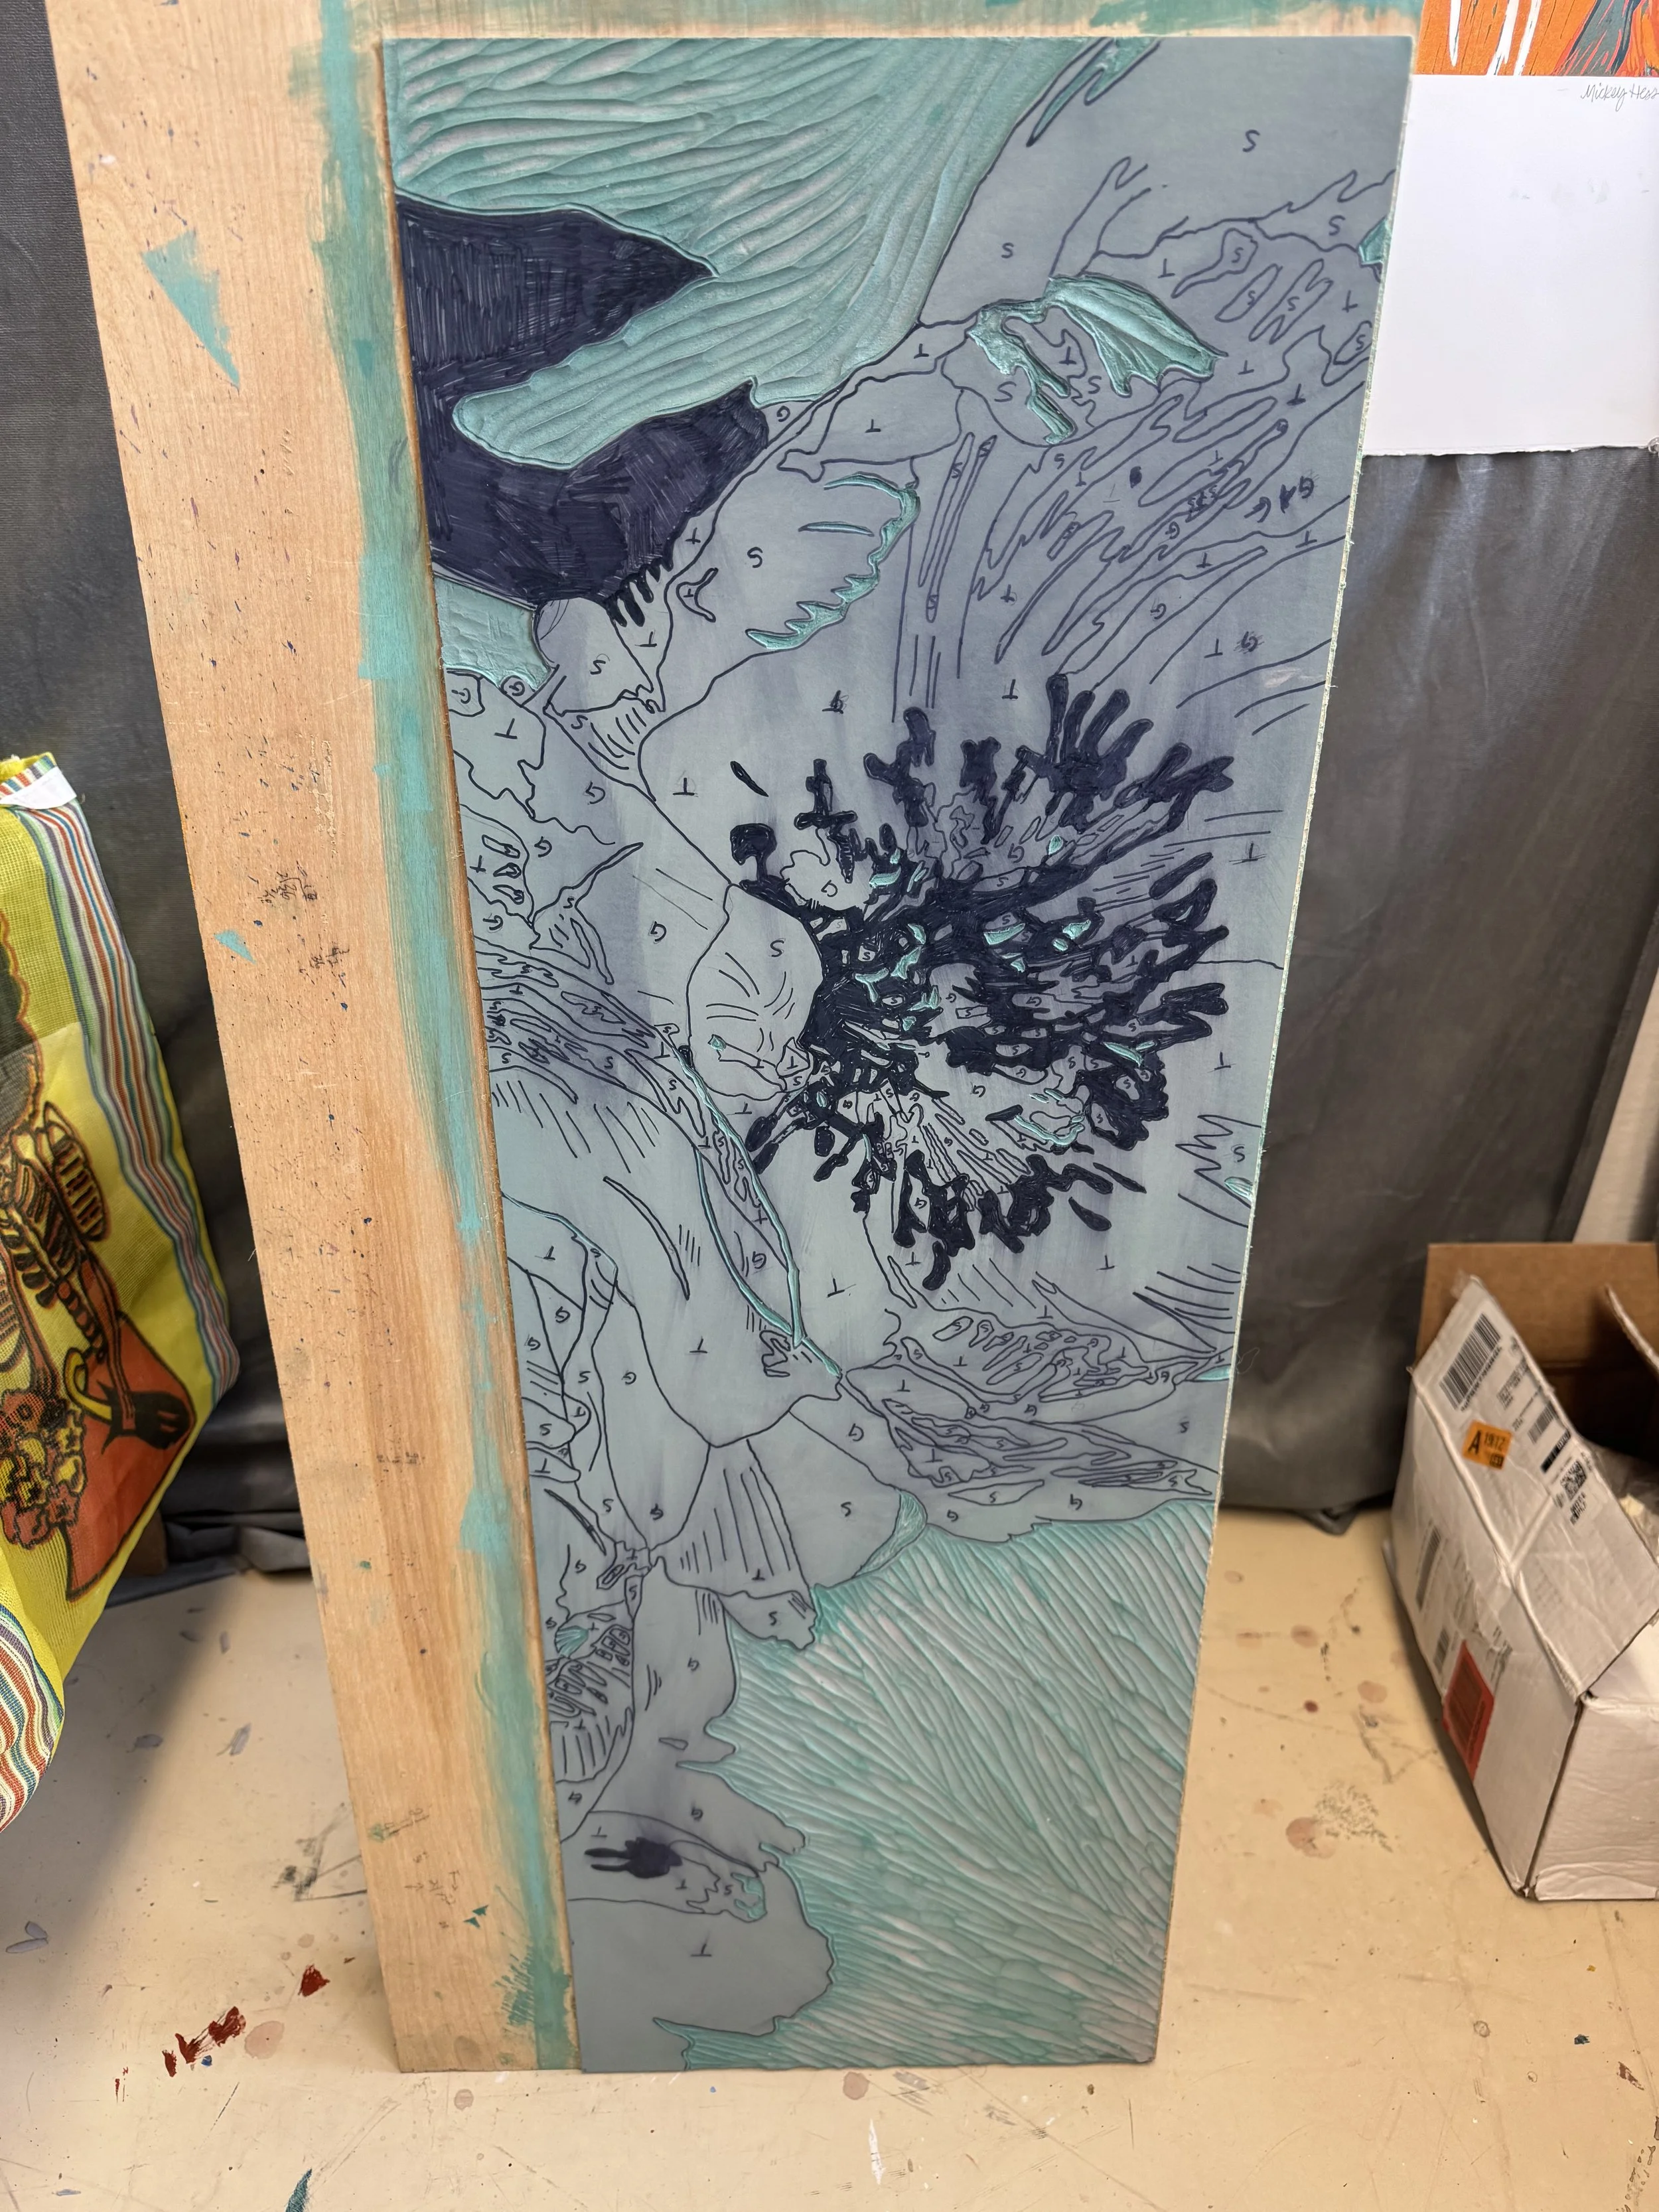
This is a look at the linoleum after I carved for the first color.
Blog for Senior Studio
It all begins with an idea.
Follow me each week when I share my progress in my last semester of art school
